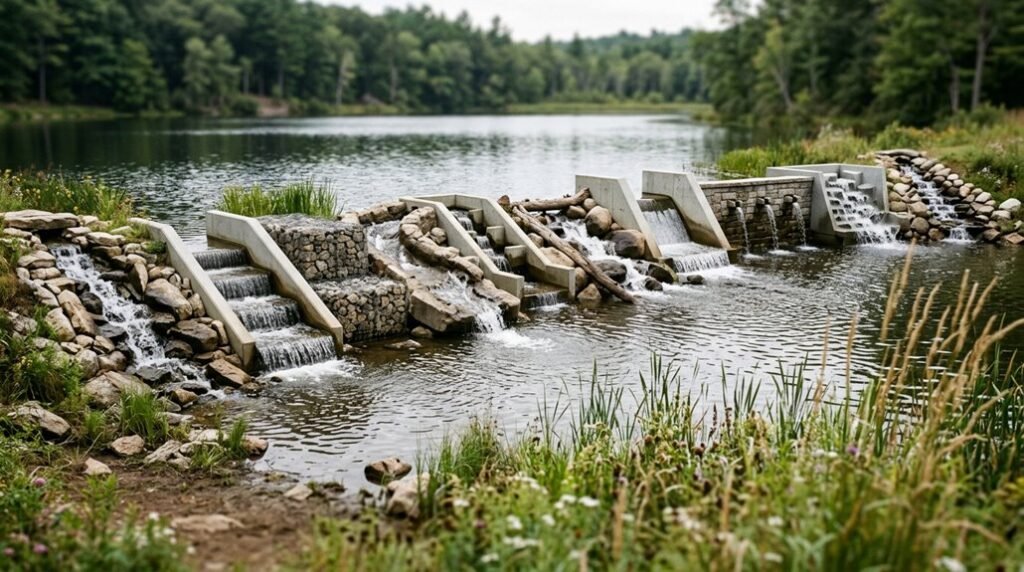
I’ve watched too many farm ponds wash out after heavy rains, their spillways choked with debris or simply undersized for the deluge. Whether you’re building new or retrofitting an aging dam, the right spillway, pervious riprap locking like puzzle pieces, a concrete throat armored against scour, or a raised pipe gravity-feeding excess water, can mean the difference between a stable pond and a collapsed embankment.
The ten approaches I’ll outline range from earthen grass channels to drive-over concrete decks, each matched to specific soil conditions, flow rates, and maintenance capacities. Choosing wrong costs thousands; choosing right buys decades of security. Let me show you how.
Start Here: How to Choose a Spillway for Your Farm Pond
Where exactly does your farm pond need to redirect its overflow when the skies open and the water keeps coming? I always start my spillway design by mapping where the water wants to travel naturally.
Matching exit capacity to inflow matters more than you’d think. Two 12-inch culverts won’t handle what a single 24-inch pipe manages, so I watch for standing water after storms. I backfill culverts, add riprap, and direct a swale away from levees toward proper drainage.
For surfaces, I’ve weighed concrete’s smooth drivability against frost heave risks requiring insulation and stable base layers. Rock spillways, built with 6–8 inch river stone over geotextile fabric, give me filtration that blocks muck infiltration while maintaining pervious flow, though local availability and cost shape my final choice.
Earthen Spillways: The Simple Option for Rural Ponds
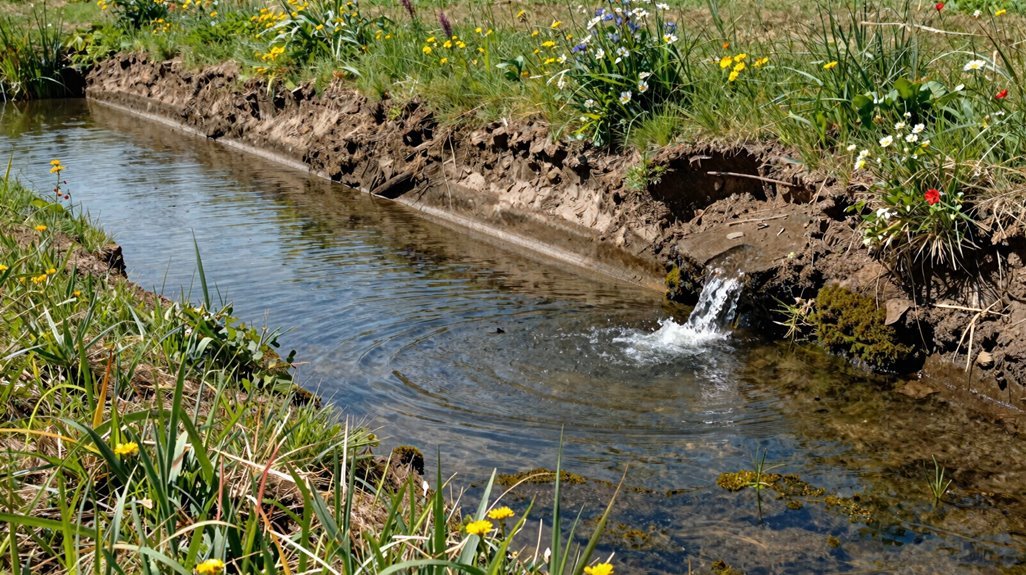
An earthen spillway cuts through the berm like a shallow, grass-lined gully, letting excess water sheet across native soil instead of punching through concrete or metal. I’ve watched these pervious channels blend into pastures, their filtration of roots and sediment creating something that feels like it belongs there.
Earthen spillways suit us rural pond owners because they bend with changing rainfall patterns. When drought shrinks my waterline, I reshape the channel. When storms swell, the broad, grassy surface disperses energy across native clay and loam. The grass forms a living armor against rill erosion, its interwoven stems slowing velocity while roots knit the soil matrix.
Maintenance means walking the channel after heavy weather, clearing debris dams of leaves and silt before they choke capacity. Properly sized, these spillways protect my levee and downstream neighbors through moderate floods without industrial intrusion.
Steel Pipe Spillways Backed With Fabric for Stability
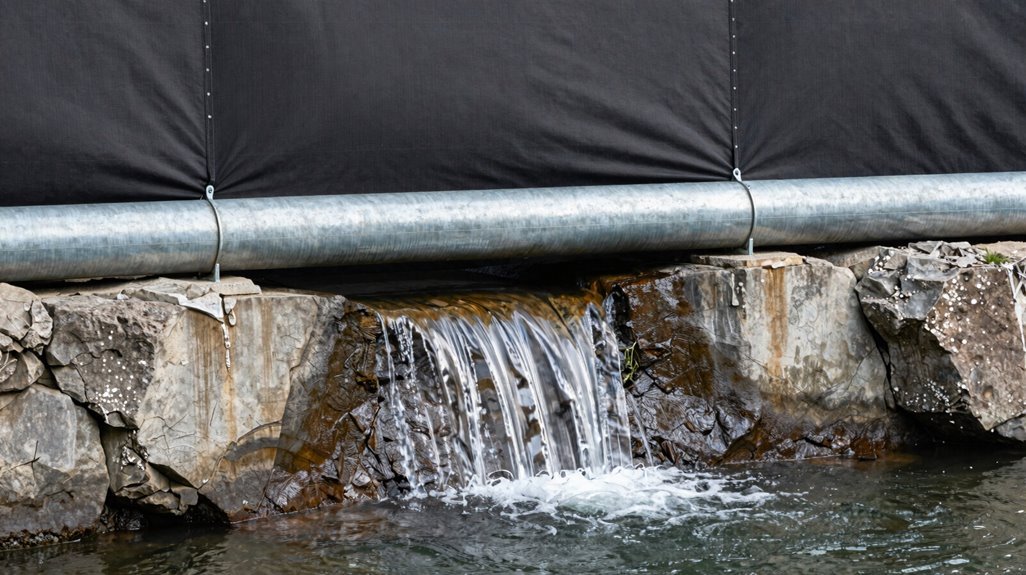
I choose a single steel pipe, often 18 inches in diameter, when I need greater overflow capacity than paired 12-inch alternatives, though I’m careful to align it with downstream culverts so it doesn’t raise my water level unpredictably.
Before I set that corrugated cylinder in place, I roll out a pervious geotextile fabric against the scarred earth, creating a filtration barrier that locks soil particles in place while keeping muck from creeping into my riprap skirt. Draping that same woven sheet over the dam’s crest, I blanket the pipe with angular stone, building a hexagon-tiled backdrop of interlocking rock that I can drive across while the fabric’s buried edges anchor the apron against the force of rushing water.
Steel Pipe Selection
Why settle for a spillway that shifts with every freeze-thaw cycle when steel pipe backed with geotextile fabric offers something far more reliable? I’ve learned that smart spillway design starts with choosing the right diameter.
One 18-inch corrugated steel pipe gives me far more overflow capacity than twin 12-inch pipes, though I must match inflow carefully to avoid raising water levels and creating standing water. I backfill my culverts with good clay soil before adding rock cover, minimizing settlement and frost heave that would throw off alignment.
Draping geotextile over dam ends, I create a stable, pervious barrier that shields my pipe from debris impact while aiding filtration. Adding riprap above rounds out a system that keeps muck out, preserves clean flow paths, and protects my pond’s integrity through seasons.
Geotextile Fabric Placement
Where exactly should geotextile fabric sit to keep your spillway functioning decades from now? I’ve learned that proper geotextile fabric placement makes the difference between a spillway that endures and one that fails.
For steel pipe spillways, I drape heavy-duty fabric over the dam, extending it well beyond both pipe ends. This stabilizes the termination points, preventing soil intrusion while maintaining that critical separation between native muck and your drainage structure. The fabric acts as a pervious barrier, allowing water passage while blocking sediment migration.
I always backfill with compacted clay around culverts before adding rock cover, creating an erosion-resistant foundation that withstands frost-thaw cycles. Pairing this filtration layer with properly sloped surfaces preserves flow capacity during peak inflows.
Getting your geotextile fabric placement right means joining the community of builders whose spillways actually last.
Rip Rap Coverage
Once you’ve got your geotextile fabric locked in place, it’s time to armor that spillway with rip rap that’ll take the punishment. I stack irregular 6 to 8 inch river rock, angling them until they interlock like puzzle pieces, forming a permeable fortress against rushing water. Your fabric barrier stops muck from bleeding upward, maintaining filtration and keeping the rock zone pervious.
I always pour a compacted earth or concrete base first, preventing frost heave and giving you a surface you can drive over without cratering your work. Sizing your rip rap coverage to match anticipated overflow volumes matters; undersizing risks washout, undermining your dam. Watch those stones settle into their hexagonal mosaic, locked tight, passing water while holding ground. Done right, this assembly outlasts storms.
Concrete Spillways That Outlast Pipe Culverts
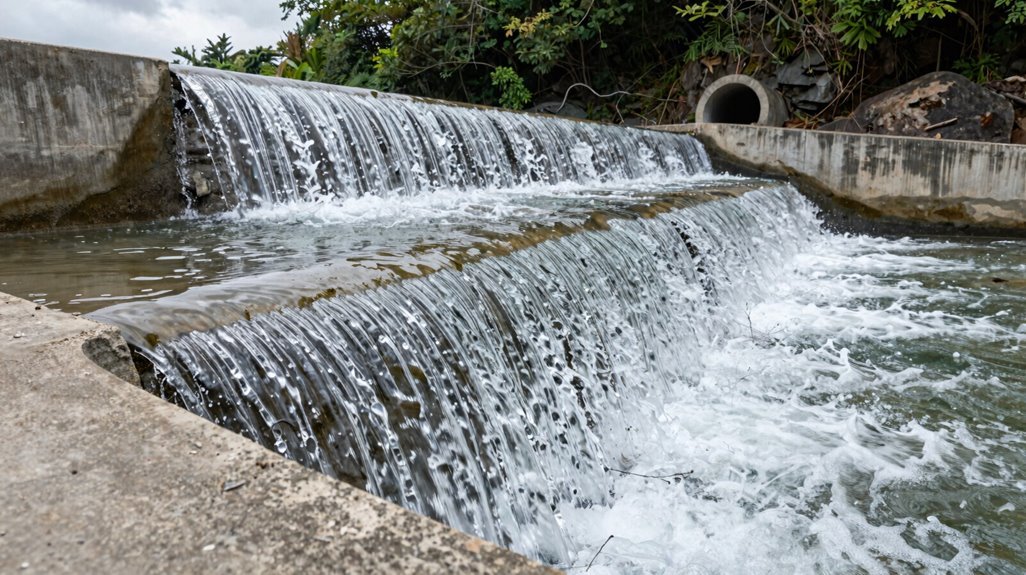
I’ve seen concrete spillways crack and heave when builders skip the gravel sub-base and steel reinforcement, so I’ll walk you through the freeze-thaw durability tricks that keep these structures intact through brutal winters.
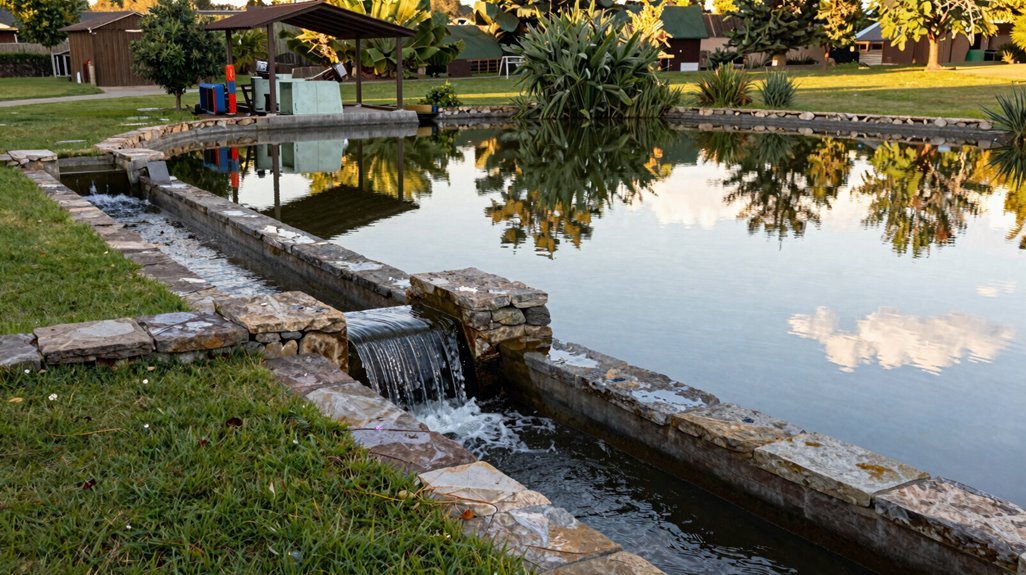
Proper base preparation, compacting a pervious, well-drained sub-grade and installing expansion joints every ten feet, makes the difference between a twenty-year spillway and a frost-jacked ruin. Shaping the channel with a shallow U-profile and steel-troweled surface, you create a traffic-bearing design that carries mower tires and tractor loads without rutting, while the smooth concrete walls guide floodwater predictably toward your riprap apron.
Freeze-Thaw Durability
How often have you watched a pipe culvert fail after its third winter, the metal bellied and split from frost heave while water backs up behind it? I’ve moved beyond that cycle, embracing concrete spillways engineered for frost-heave prevention and real longevity.
I build my spillways as shallow U-shaped swales, roughly four to five feet wide and twenty-five feet long, creating a continuous, pervious flow path that endures freeze-thaw punishment without eroding. Embedding geotextile fabric beneath riprap or concrete blocks muck ingress, halting the undermining that destroys lesser installations.
Specifying low-humidity, low-freeze-risk concrete mix over a compacted subgrade minimizes cracking.
For structures accepting overflow from dual twelve-inch or single eighteen-inch pipes, I tier the descent, limiting water height and reducing destructive suction when ice forms.
Base Preparation Essentials
Building a spillway that survives decades starts with what you can’t see once the concrete cures. I’ve learned that rushing the foundation invites disaster, so I take my time preparing what lies beneath.
Compacting a reinforced subgrade, layered with gravel or stabilized soil, prevents frost heave from heaving your investment skyward. Laying geotextile fabric beneath rock or rip-rap blocks muck intrusion, improving filtration and long-term erosion control.
Selecting low-freeze-risk concrete mixes with proper joint detailing protects against cracking when temperatures plunge. Raising spillway elevation, then backfilling culverts with dense clay before rock covering, boosts storage while keeping the approach subtle.
Your foundation determines whether neighbors admire your work decades from now, or whisper about the washout that could’ve been prevented.
Traffic-Bearing Design
Pouring a concrete spillway that doubles as a drivable surface changes how you move equipment across your dam; no more circling around or wrestling with hinged culvert covers that jam at the worst moment. I build mine shallow and U-shaped, four to five feet wide, stretching twenty-five feet with steel reinforcement against freeze-thaw cycles.
You’ll want stable, frost-resistant base material packed underneath, letting tractors and mowers cross without sinking. Lay geotextile fabric first, then rock grip above, filtering muck while locking everything in place. Match your exit capacity to peak inflow, keeping water moving, never pooling.
Raise the elevation just enough to shrink that visible ramp height without sacrificing strength. Done right, these concrete spillways outlast pipe culverts, becoming the backbone your property deserves.
Rip Rap Spillways That Lock Together and Stay Put
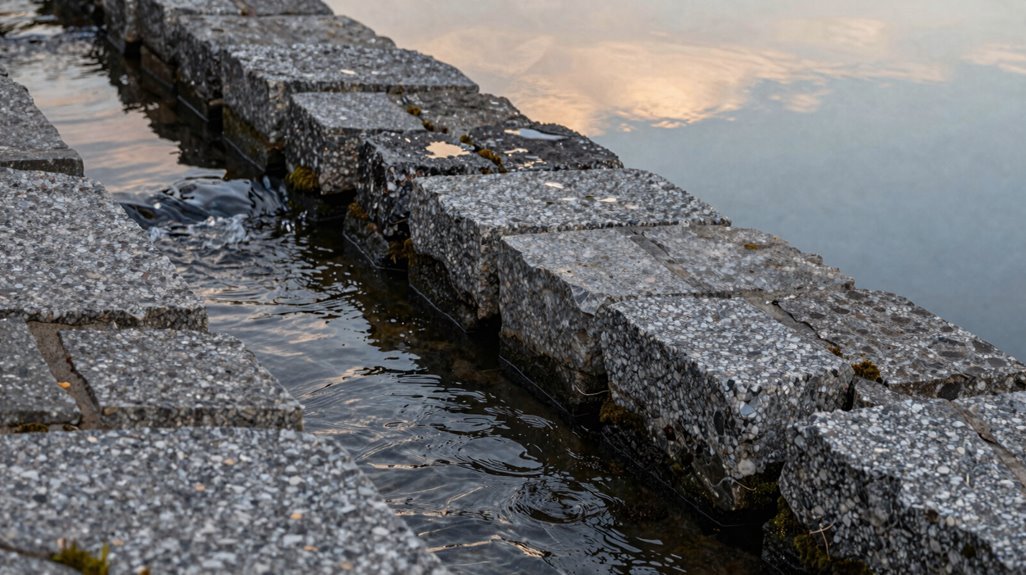
A properly built rip rap spillway starts with understanding that water, given time, will find and exploit every weakness I’ve left behind. I’ve learned that layering 6–8 inch river rock over geotextile fabric creates a pervious filtration system that locks irregular stones together, resisting the pull of fast currents.
Placing this assembly above an 18-inch corrugated steel pipe gives me durable overflow capacity without sacrificing surface integrity. The jagged, mismatched rocks interlock more stubbornly than uniform chunks, and that fabric barrier keeps sediment from infiltrating the voids while suppressing weed intrusion. Coordinating with local stone suppliers guarantees I get appropriately sized material at fair cost, and a properly prepared base prevents frost heave from undoing my work. Done right, this becomes a drive-over solution that endures.
- Layer geotextile fabric beneath river rock to block muck and stabilize the matrix
- Select irregularly shaped stones that wedge together like puzzle pieces against flowing water
- Position rip rap over corrugated pipe for combined surface protection and discharge capacity
- Prepare a frost-resistant base and source local stone to control cost and longevity
How to Size Your Pipes So Water Doesn’t Back Up?
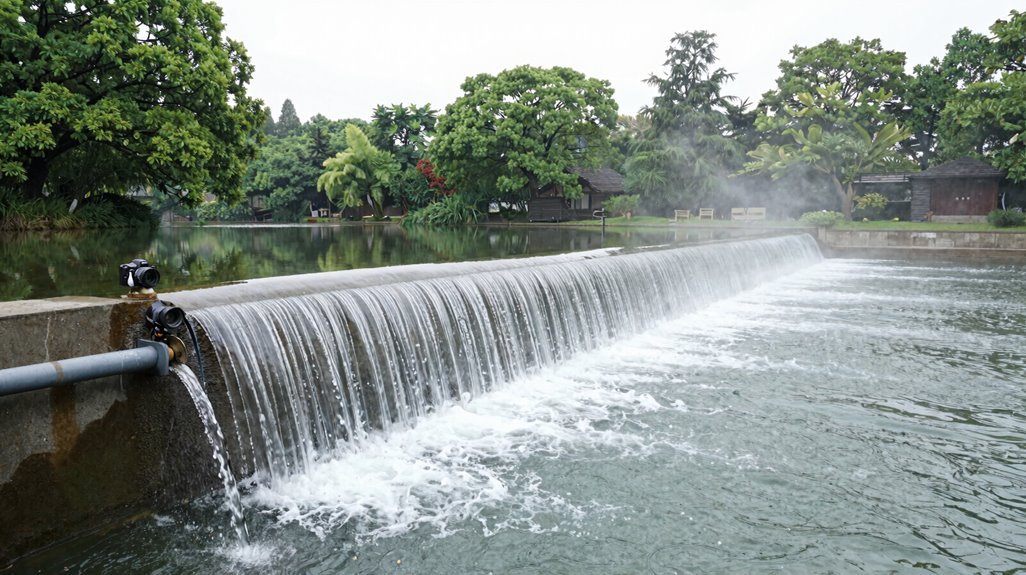
Sizing pipes for your pond spillway means matching pipe flow capacity directly to your inflow rates, a calculation I’ve seen botched too many times by landowners eyeballing diameter instead of crunching numbers. Two 12-inch culverts, for instance, won’t move what a single 24-inch pipe handles when the creek swells and debris clogs the grates, leaving water to stack against your embankment like a held breath.
I’ll walk you through the arithmetic that keeps your spillway from becoming a bathtub with no drain.
Pipe Flow Capacity
How often have you watched water pool around your spillway during a heavy rain, wondering if your pipes can actually handle the deluge? I’ve learned that flow capacity isn’t just about grabbing the biggest pipe you can find; it’s a careful balance of diameter, slope, and what lies inside the walls.
- Size smartly: One 18-inch pipe outperforms two 12-inch pipes, their friction stealing precious flow during critical moments.
- Watch the exit: Undersized tailpipes create standing water, turning your spillway into a backed-up bathtub nobody wants.
- Elevate thoughtfully: Raising that spillway approach, even slightly, channels gravity’s steady hand for cleaner discharge.
- Smooth the entry: A wide, concrete-armored throat fights erosion, keeping your hexagon-tiled backdrop of stone pillar fountains safe while water races through unimpeded.
Matching Inflow Rates
I’ve wrestled with pipes that gurgled and stalled while stormwater climbed my spillway walls, so I’ll tell you plainly: matching inflow to outflow isn’t guesswork, it’s arithmetic with dirt on its hands.
Size your pipes 1.0–1.5× your peak design inflow, calculated from rainfall runoff across your watershed’s pervious surface.
One 18-inch pipe boosts water flow but lifts the hydraulic grade line, swallowing culvert visibility and demanding higher spillway walls. Two 12-inch pipes aren’t twin 24s; headloss and stub-end turbulence steal capacity.
| Your fear | Your fix |
|---|---|
| Standing water in the culvert | Size to actual bore and slope, not catalog diameter |
| Ramp vanishing under mirror-flat backflow | Raise spillway elevation or step down to dual barrels |
| Hexagon-tiled backdrop crumbling | Pack clay backfill, cap with fractured stone for filtration |
| Nightmare overflow | Verify exit capacity exceeds intake, always |
Backfill with compacted clay, armor with rock, keep that bore true water flow through.
Drive-Over Spillways for Tractors and Mowers
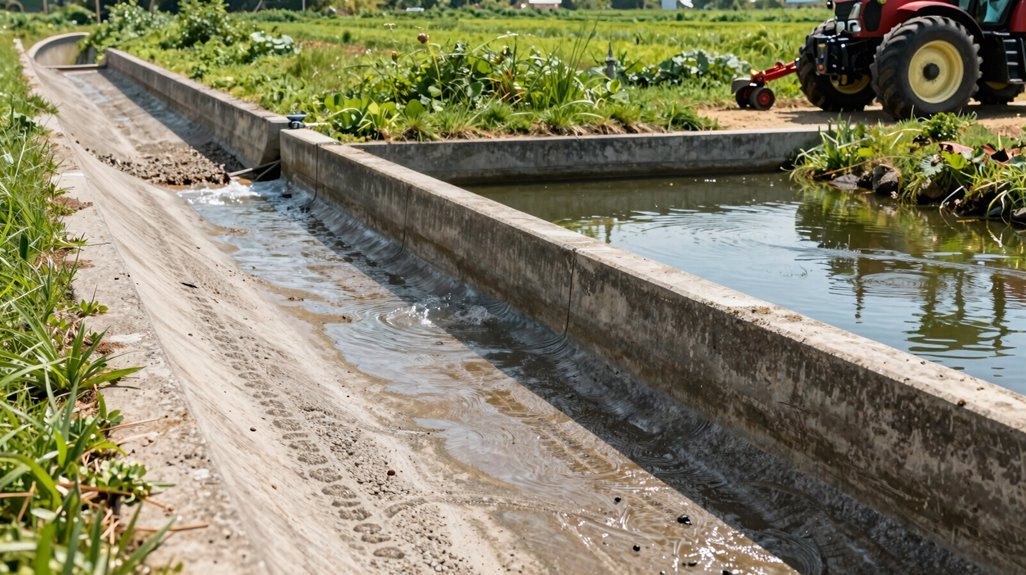
Where access matters most, I’ve found that a drive-over spillway turns an ordinary dam crossing into something genuinely useful. You need a surface that’ll handle your tractor’s weight without crumbling into ruts or heaving when winter hits.
Building one that lasts means thinking through the layers:
Pouring a reinforced concrete platform, wide enough to span your spillway, gives you that smooth, predictable crossing you’re after.
Pairing an 18-inch overflow pipe with a rock or concrete deck dissipates energy before it undermines your axle line.
Laying riprap and geotextile beneath the surface blocks muck intrusion and anchors the edges against washout.
Elevating the spillway above your ramp line eliminates those awkward humps, aligning the deck with normal water levels as you roll across.
I’ve seen poorly built drive-over spillways buckle within a season, but get the reinforcement right, and you have year-round access worth sharing with the neighbors.
Stone-and-Fabric Spillways for Soft, Mucky Bases
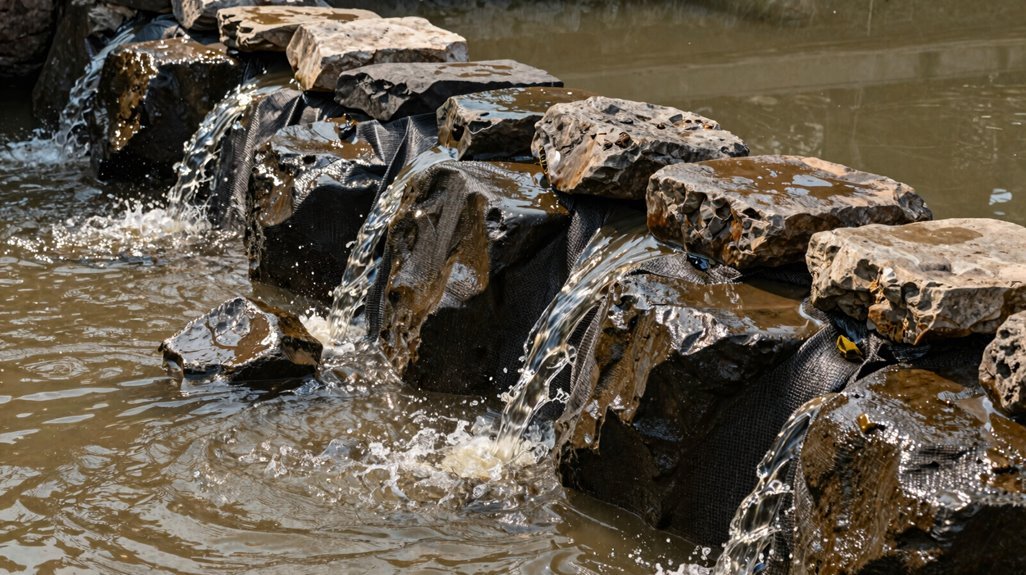
A stone-and-fabric spillway gives you something solid when your base soil is anything but. I’ve wrestled with mucky pond edges that swallow rock whole, and this solution finally stuck.
Start by rolling out geotextile fabric across the saturated base, creating a pervious filtration barrier that separates stone from muck. This prevents weed intrusion and keeps sediment from choking your flow path. Pile 6–8 inches of irregular stone atop the fabric, locking pieces together like puzzle fragments to resist washout while maintaining capacity.
Geotextile fabric transforms saturated muck into a stable foundation by separating stone from soil, filtering water, and locking irregular rock into a washout-resistant flow path.
For drive-over applications, I’ll widen and shallow the profile, sometimes integrating concrete components for tractor traffic. Remember: freeze-thaw cycles demand proper drainage beneath everything. Without that stable foundation, frost heave undoes your work.
The geotextile makes impossible ground into reliable infrastructure.
Raised Spillways That Add Water Storage
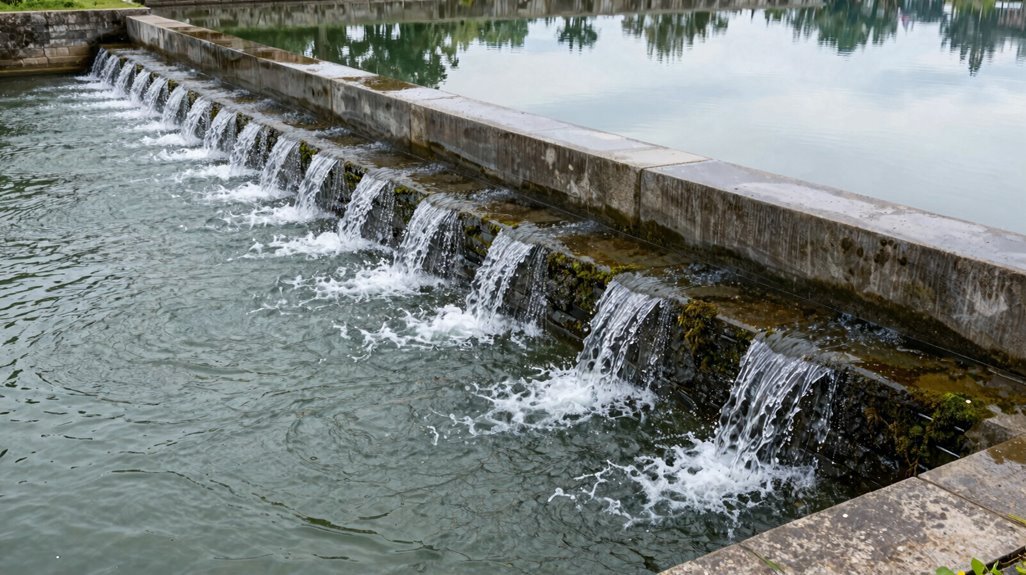
Why settle for a pond that overflows at the first heavy rain when you could bank that water instead? I’ve found raised spillways transform ordinary ponds into reservoirs that work harder for us. By elevating the crest height, we capture more volume before any discharge begins, so precious water stays put through dry spells.
A robust base with proper backfill hides the ramp, letting your tractor cross without drama near culverts. Wide, reinforced concrete crests paired with downstream swales steer overflow clear of levees. Matching exit capacity to peak inflow prevents that maddening standing water in pipes. Geo-fabric-layered riprap with a broad surface depression locks in both storage gains and erosion defense.
We’re not just building spillways; we’re building water security that lasts.
Build a Swale That Diverts Overflow Safely
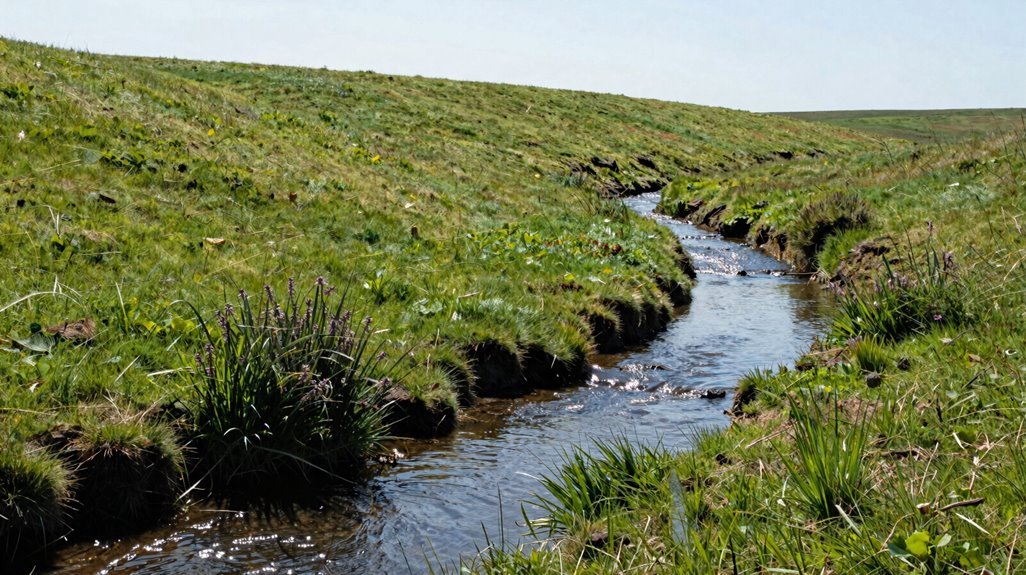
How often have you watched pond overflow chew raw gullies into an embankment, carrying sediment toward places it doesn’t belong? I’ve found that building a swale changes everything.
A swale is a shallow, depressional channel I design to capture and convey overflow away from levees, reducing erosion and standing water near the pond. I always direct overflow into the swale rather than allowing overland runoff, which protects embankments from scour and minimizes sediment transport downstream.
| Swale Component | Purpose |
|---|---|
| Gentle grade with calculated width and depth | Maintains controlled flow velocity without scour |
| Geotextile fabric and riprap lining | Provides pervious filtration and armor at high-flow points |
| Frost-resistant base materials | Guarantees year-round function through freeze/thaw cycles |
I pair my swale with a properly sized culvert system, so all excess inflow reaches the channel without backup or overtopping.