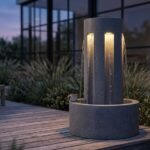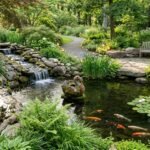

I’ve stood beside enough half-finished excavations, watching homeowners wrestle with cracked PVC and sun-rotted rubber, to know that material choice determines whether your stone pillar fountain becomes a legacy or a leak. LLDPE, linear low-density polyethylene, offers the flexibility to hug irregular contours. It has the resilience to survive ground shift, and the UV stability that cheaper liners simply fake. But thickness, certification, and installation sequence separate a 20-year water feature from a season of regret. I’ll walk you through exactly what I verify before cutting a single sheet.
Why LLDPE Outperforms Other Pond Liner Materials
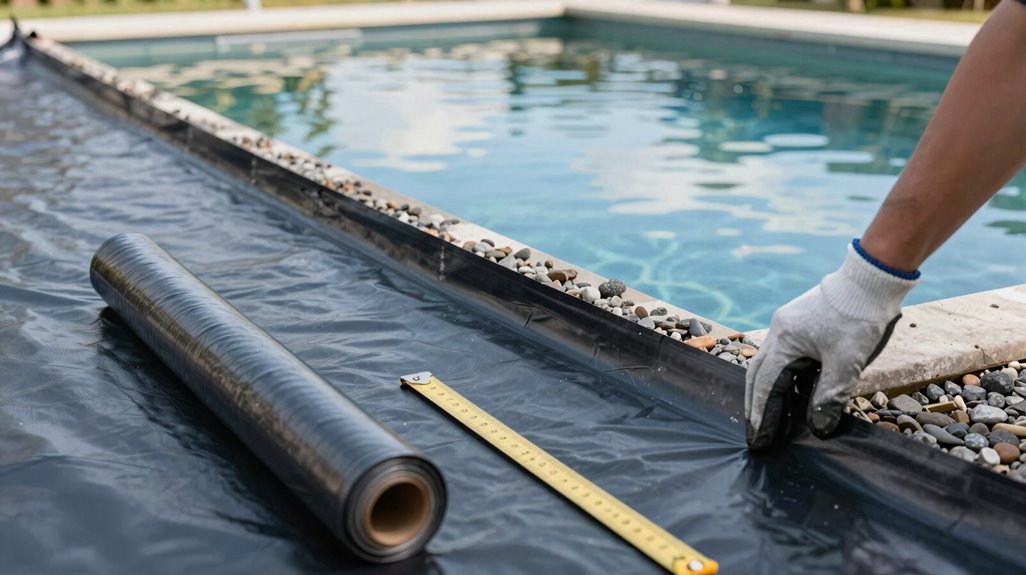
Why settle for a liner that fights you every step of the installation? I choose LLDPE because it bends, curves, and settles into every contour of my pond’s irregular shape without tearing, turning a frustrating weekend into manageable work. Its puncture resistance protects against buried roots and shifting stones beneath the soil.
Where sunlight beats down relentlessly, UV stability keeps the membrane intact season after season, preventing the brittleness that ruins lesser materials. I’ve learned that permeation-resistant formulations guard water purity, creating safe harbor for koi and aquatic plants alike. Unlike rigid alternatives, this material forgives my mistakes during placement.
For water features demanding both durability and grace, LLDPE offers what others cannot, a liner that works with me, not against me.
How to Measure and Size Your LLDPE Liner Correctly
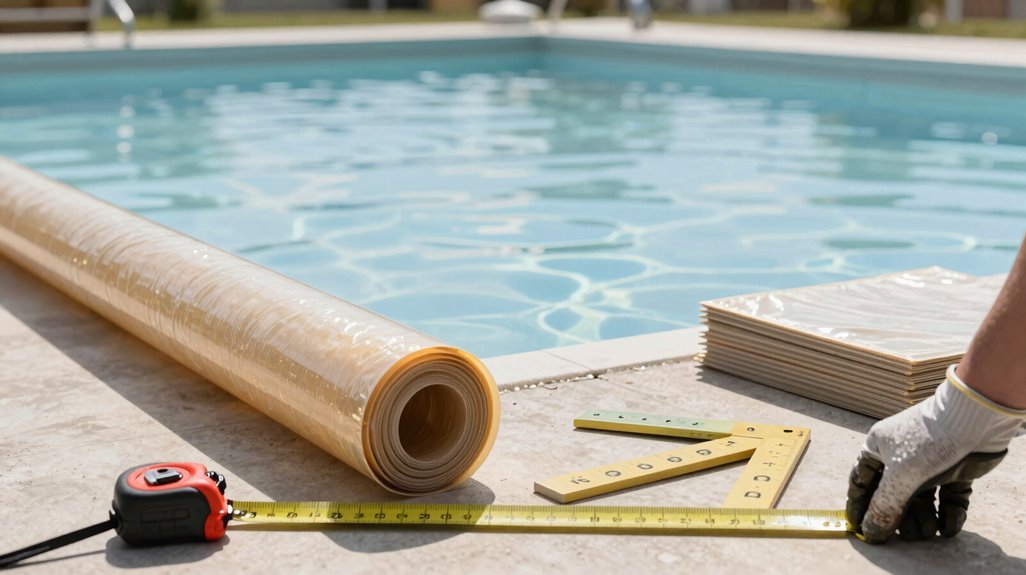
How do I know I’ve ordered enough liner without overspending on excess material? I start with precise measurements: length, width, and depth. Then I add 1.5 to 2 feet of overlap around every edge for secure anchoring.
This simple formula keeps my liner sizing on target: (Length + 2×Depth + 3 feet) × (Width + 2×Depth + 3 feet) gives me the minimum LLDPE sheet I need. Whether I’m building around a stone pillar fountain or fitting a hexagon-tiled backdrop, these pond dimensions help me avoid running short.
Getting my measurements right the first time means fewer seams, less waste, and a professional finish that welcomes koi and guests alike into my water feature sanctuary.
Pick the Right Thickness: 20 Mil vs. 30–40 Mil
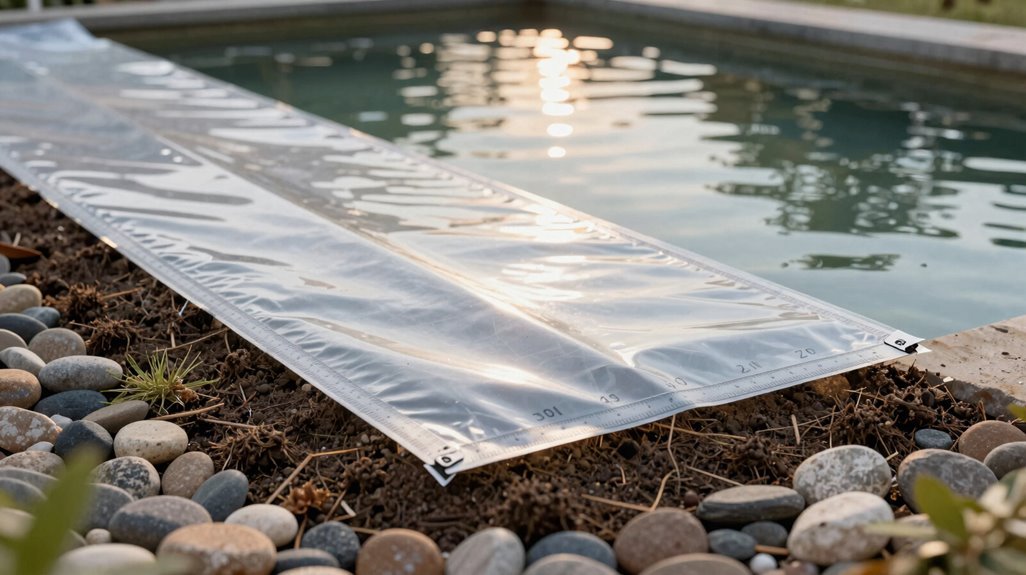
When I’m standing at the edge of my unfinished pond, shovel in hand, I face a decision that’ll shape decades of water gardening: just how thick should my LLDPE liner be? For my modest decorative pond, a hexagon-tiled backdrop surrounding a stone pillar fountain, I’ve learned that 20 mil often suffices. Yet when I imagine roots pushing through, rocks shifting, or my dog’s paws scrambling down the bank, I’m drawn toward 30–40 mil.
Selecting LLDPE thickness means weighing immediate savings against lasting peace of mind. Thinner 20 mil stretches easier, fitting contours like a second skin, but I’ve seen it fatigue where foot traffic concentrates.
In blazing southern sun, where UV resistance faces its sternest test, 30–40 mil resists thinning, stretching, and the micro-abrasions that eventually betray a water feature. My climate, depth, and ambition guide me toward durability.
Verify UV Resistance and Fish-Safe Certification
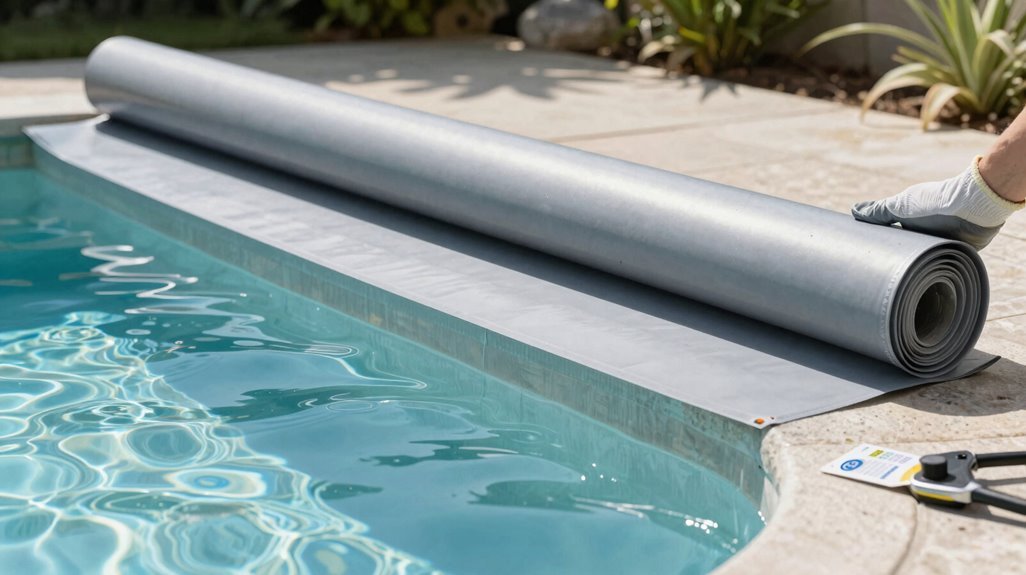
I’ll examine your pond liner through the lens of UV protection standards, noting how its molecular structure prevents that brittle, hexagon-tiled backdrop of cracking you’d see after a single season of unfiltered sun.
Checking for aquatic life safety means I’ll verify the material carries no heavy metals or phthalates, those invisible threats that could turn your stone pillar fountain into a chemical hazard for finned inhabitants. Following clear certification verification steps, I’ll cross-reference manufacturer warranties against independent testing, making certain the liner’s promises match its performance in real-world filtration scenarios.
UV Protection Standards
Wherever sunlight strikes your pond’s surface, I’m checking that my LLDPE liner carries genuine UV stabilization, because unstabilized polyethylene turns brittle, chalks, and cracks within seasons of exposure. I won’t settle for vague promises; I’m demanding LLDPE UV-stabilized specifications in writing, comparing UV resistance claims between manufacturers whose formulas differ in stabilizer quality and concentration.
Examining warranty terms, I’m hunting for 20-plus year guarantees against UV degradation, not flimsy five-year coverage that leaves me exposed. I’m noting thickness and flexibility too, overly rigid sheets fight me during installation around stone pillar fountains and hexagon-tiled backdrops. While fish-safe certification matters deeply, I’m focusing here on how pervious sunlight demands robust protection, making certain my water feature’s foundation endures through blazing summers without becoming filtration-compromising debris.
Aquatic Life Safety
How thoroughly have I vetted my liner’s impact on the creatures swimming beneath its surface? I insist on a fish-safe LLDPE liner, one bearing clear non-toxic labeling for my koi gliding past the stone pillar fountain. UV-stabilized formulations matter here: sun-baked membranes, left pervious to cracking, leach stress into scaled bodies seeking cool refuge.
I examine certifications/warranty documents closely, demanding third-party proof against chemical seepage. My hexagon-tiled backdrop deserves inhabitants doing well, not merely surviving. Full-sun locations punish inferior materials, so I select UV-stabilized grades preserving flexibility across seasons. Manufacturer guarantees covering exposure-related wear signal genuine commitment.
When my goldfish surface, mouths breaking tension, I need confidence: no hidden toxins clouding their filtration-dependent world. Their safety anchors my pond’s belonging.
Certification Verification Steps
Turning from the general promise of fish-safe materials, I’m now scrutinizing the actual proof in my hands. Checking the product data sheet, I verify UV stability claims, hunting for 5,000–15,000 hours of specified exposure and manufacturer-rated UV stabilizers that’ll protect my hexagon-tiled backdrop from sun damage.
For fish-safe certification, I confirm non-toxic labeling and FDA food-contact or EU REACH compliance, making certain no harmful additives pervade my stone pillar fountain’s filtration system. I scan packaging for third-party labeling: NSF/ANSI, UL, or independent aquatic-safety icons that signal real accountability.
Finally, I request written test reports documenting UV stability results and fish-safety testing from my supplier. These concrete verifications turn vague promises into trustworthy protection, securing my water feature’s future.
Tools You’ll Need to Install Your LLDPE Liner
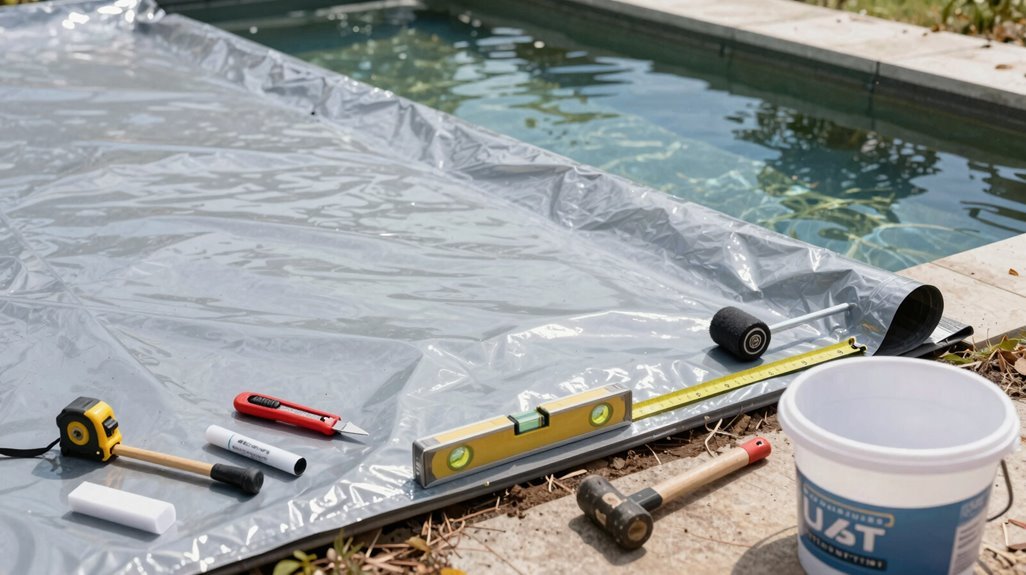
I always start my LLDPE liner installations by laying out the essential preparation equipment, sharp utility knife, straightedge, and chalk line, on a flat, pervious surface near the excavation. Having specialized installation tools ready, including heavy-duty scissors for precise cuts and a rubber mallet for securing edges against my stone pillar fountain, guarantees I won’t scramble mid-project.
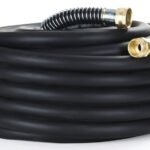
With protective gloves, knee pads, and my garden hose coiled nearby, I’m equipped to handle the liner’s folds and filtration-grade seams without interruption.
Essential Preparation Equipment
Where exactly does a water feature begin? I’ve found it starts long before the first shovel breaks soil, in the quiet gathering of preparation. I map my pond’s curves with spray paint or a coiled garden hose, then excavate with a sturdy spade, envisioning how light will dance across the finished surface.
Before my LLDPE liner ever touches earth, I unroll a protective underlayment; geotextile fabric or smooth sand, to shield against puncture from hidden stones. I measure carefully, securing 1.5–2 feet of overlap at every edge, plus generous seam allowances where pieces meet. Finally, I arrange my anchors: weathered border stones, stacked edging blocks, or sculpted earthen berms, waiting to cradle the liner’s margins.
These preparations, patient and methodical, weave me into a community of builders who understand that lasting beauty demands deliberate groundwork.
Specialized Installation Tools
How does a sheet of LLDPE transform from folded bundle to seamless basin? Through the right specialized tools, you’ll join a community of builders who craft lasting water features.
For LLDPE liner installation, I rely on a liner roller to press out air pockets against the hexagon-tiled backdrop of my excavation. A sharp utility knife, fitted with a fresh blade, delivers clean cuts around stone pillar fountain protrusions. When joining sections, seam tape and contact adhesive create pervious-proof bonds, while a temporary seam roller ensures flat, airtight overlaps.
A heat gun, handled with care, removes wrinkles without scorching the material. I keep it moving constantly. Measuring tape, gloves, safety glasses, and knee pads complete my kit. Edge protection, like rocks or edging blocks, secures overlaps against filtration failure and shifting soil.
Clear the Site: Remove Rocks, Roots, and Sharp Debris
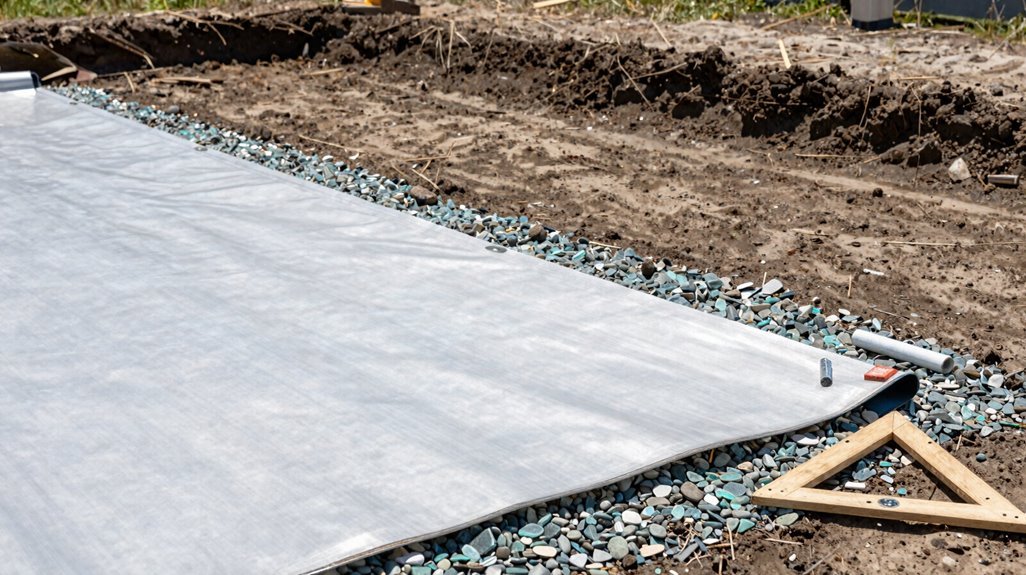
Before I roll out a single inch of liner, I’m walking the site with my boots sinking into pervious soil, scanning every square foot for the glint of buried glass, the pale curve of half-hidden roots, the angular edge of a forgotten brick. Debris removal isn’t glamorous, but it’s where your pond liner lives or dies.
I’m kneeling now, hand-feeling through loam for hidden nails, sweeping a magnet across corners where construction trash gathers. Every stone pillar fountain, every hexagon-tiled backdrop you’re dreaming of rests on this moment.
Site preparation means digging stable, level contours with gradual slopes toward the center, supporting even LLDPE weight without folds. I remove large sticks, forgotten rebar, anything that could breach the membrane. This diligence, shared among those who build to last, turns raw earth into the foundation of something enduring.
Install Geotextile Underlayment First

Why risk a season’s work on what lies beneath? I’ve learned that geotextile underlayment forms the invisible foundation every healthy pond demands, cushioning your investment against the unseen hazards lurking in prepared soil.
Beneath every thriving pond lies an invisible shield—geotextile underlayment guarding your investment against the unseen hazards buried in prepared soil.
Start by selecting a pervious, non-woven fabric that extends three inches beyond your liner’s perimeter; this underlayment coverage prevents exposed edges from becoming puncture points. For multi-level designs with stone pillar fountains or hexagon-tiled backdrops, use continuous sheets across all shelves, eliminating vulnerable seams where roots might penetrate.
Achieving wrinkle-free installation matters more than you’d think. I smooth every fold, ensuring the fabric lies flat against contours before proceeding. This liner protection prevents trapped water pockets that compromise structural integrity.
Walk the completed surface, reseating lifted sections, verifying complete filtration-ready coverage before your LLDPE liner ever touches ground.
Lay Your LLDPE Liner Without Stretching or Wrinkles

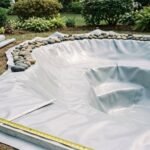
Once the geotextile underlayment lies smooth beneath me, I position the folded LLDPE liner at the pond’s center, letting gravity do what force cannot. I unfold gently, never pulling, working from the deepest section toward the shallows.
The fabric underlayment cushions every contour, preventing punctures that would distort the liner under water’s weight. Smoothing folds as I go, I watch the material settle into hexagon-tiled backdrop crevices, stone pillar fountain bases, without tension. I leave twelve to eighteen inches of overlap at the edges, anchoring gradually with stones to keep the LLDPE liner taut yet relaxed.
If wrinkles appear during filling, I slow the flow, easing them toward the center. Patience makes this installation into lasting, seamless protection.
Anchor the Edges With Stone, Blocks, or Berms

With the liner now resting easy across the pond’s contours, I turn my attention to the perimeter, where loose edges wait to become permanent boundaries. I leave 12–18 inches of LLDPE overlap beyond the excavated boundary, creating a buffer against soil settling and seasonal shifting. This excess folds beneath itself, forming a cushioned seal that won’t tear when the water presses upward.
For anchoring, I select heavy border stones or compacted soil berms, pressing them firmly across the overlapped margin. I distribute these edging materials evenly, maintaining consistent pressure so no single stretch bears undue stress. Beneath the overlap, I clear sharp debris, ensuring the substrate supports without puncturing.
As water gradually fills the basin, I adjust the liner’s folds, smoothing creases before they harden into leak risks.
Cut Out and Seal Around Filters and Skimmers

I map each filter and skimmer location with a tape measure and marking chalk, leaving generous flaps of liner that’ll wrap around the equipment like a weatherproof envelope. Cutting with a fresh blade against a metal straightedge, I trace neat rectangles around each inlet, no jagged tears that’ll weep water later, then press gasketed fittings into place with compatible sealant oozing into every crevice.
Before I backfill, I slide a backing patch beneath each opening, doubling the armor where the liner’s been breached, and fill slowly, watching for telltale darkening in the soil that signals a leak needing another pass with the caulk gun.
Locate Equipment Placement Precisely
Where exactly should your filtration equipment sit before you’ve committed to a single shovel of earth? I map my equipment placement first, tracing filter and skimmer positions onto the ground with spray paint, ensuring each hexagon-tiled backdrop and stone pillar fountain aligns with my plumbing layout. This prevents frantic rearrangement after trenching begins.
I mark cutouts on my LLDPE liner with a grease pencil, keeping them slightly oversized, adding that crucial quarter-inch per edge for gasket compression. My seals demand attention: I run compatible flexible sealant along every cut edge, pressing the liner firmly against housing flanges for airtight contact. I level the subgrade beneath each opening, preventing sagging that would compromise my filtration system.
Positioning service ports within arm’s reach of the pond rim, I avoid lifting heavy liner sections during maintenance.
Cut Openings Carefully
Once the equipment positions are mapped and marked, you’re ready to breach the liner itself. I cut openings slightly larger than the filter and skimmer, leaving generous overlap for secure sealing around edges. Using a sharp utility knife, I make clean, straight cuts through the LLDPE, avoiding jagged edges that could compromise the material.
I round the cut edges where pipes protrude, creating slip-fit openings that reduce stress concentrations at critical points. For proper liner installation, I reinforce these perimeters with compatible manufacturer-recommended gaskets, building watertight seals that withstand hydrostatic pressure. I secure the overlapping material with appropriate clamps against the hexagon-tiled backdrop of my skimmer faceplate, making certain the filtration system integrates seamlessly. This careful preparation preserves liner integrity before the final fill.
Seal Connections Thoroughly
Why risk a slow, hidden leak when a proper seal takes only minutes more? I cut precise gaps around my filters and skimmers, ensuring each opening hugs the equipment without stretching my LLDPE liner. Using compatible sealants rated for pond water, I avoid harsh solvents that degrade polyethylene.
I smooth every edge where fittings pass through, eliminating abrasion points that invite future leaks. Overlapping seams around each penetration, I apply UV-stable, non-toxic adhesive designed specifically for this material. After securing the stone pillar fountain against my hexagon-tiled backdrop, I pressure-test the system, watching water rise past sealed connections. Spotting a single bubble, I adjust immediately. This careful attention makes vulnerable penetrations into reliable, watertight joints we can trust.
Fill Slowly and Smooth Folds as Water Rises

How smoothly the liner settles, I’ve found, depends almost entirely on the patience of that first hour. I always fill slowly with my LLDPE liner, letting the water rise gradually so gravity does the shaping work for me. As the water rises, I smooth folds gently toward the center or edges, never yanking or stretching the material.
I pause every few minutes, wading in with gloved hands to press out wrinkles from the center outward, eliminating air pockets before they harden into permanent creases. Near full capacity, I walk the perimeter once more, checking for any stubborn creases against the hexagon-tiled backdrop or stone pillar fountain edges. Only when the surface lies pervious and flat do I finish with edging and gravel, knowing proper filtration starts with this foundation.
Protect Your LLDPE Liner for 20+ Years
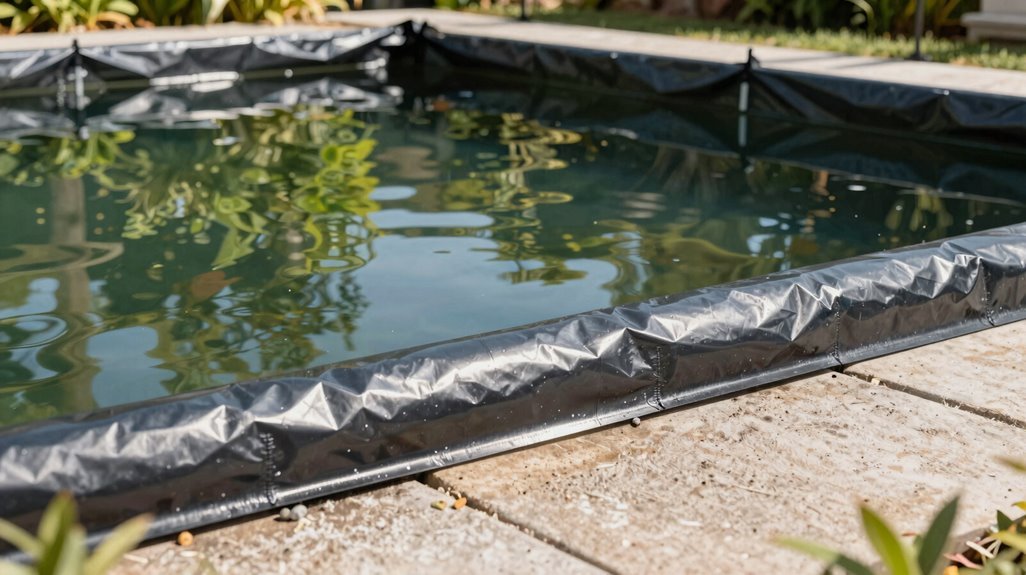
With the water settled and the liner lying pervious against every contour, I turn my attention to the decades ahead. I’ve learned that true LLDPE durability demands more than quality material; it requires my vigilant care.
I inspect edges and seams seasonally, repairing punctures before they betray me. UV stabilization protects against the sun’s relentless appetite; I shade exposed sections with weather-resistant plantings or structures. For liner thickness, I chose 30–40 mil, trusting its puncture resistance against submerged stone pillar fountains and shifting substrate.
Beneath it all, my pond underlayment cradles the membrane, modulating slopes to distribute stress. During maintenance, I float boards across the surface, never trusting my weight directly. This discipline, shared among devoted water gardeners, preserves what we’ve built.