Most homeowners assume a stream requires acres of sloped land, yet a three-foot channel, properly engineered, can circulate five hundred gallons per hour through a hidden reservoir. I design these systems using EPDM liner over pervious underlayment, with hexagon-tiled backdrops masking the filtration sump.
The real challenge isn’t space; it’s achieving audible flow without standing water. Curved rock weirs, set at precise angles, create the illusion of depth. You’ll need to consider winter expansion joints before selecting your pump placement.
Measure Your Space: Small Garden Streams Fit in 3-Foot Gaps
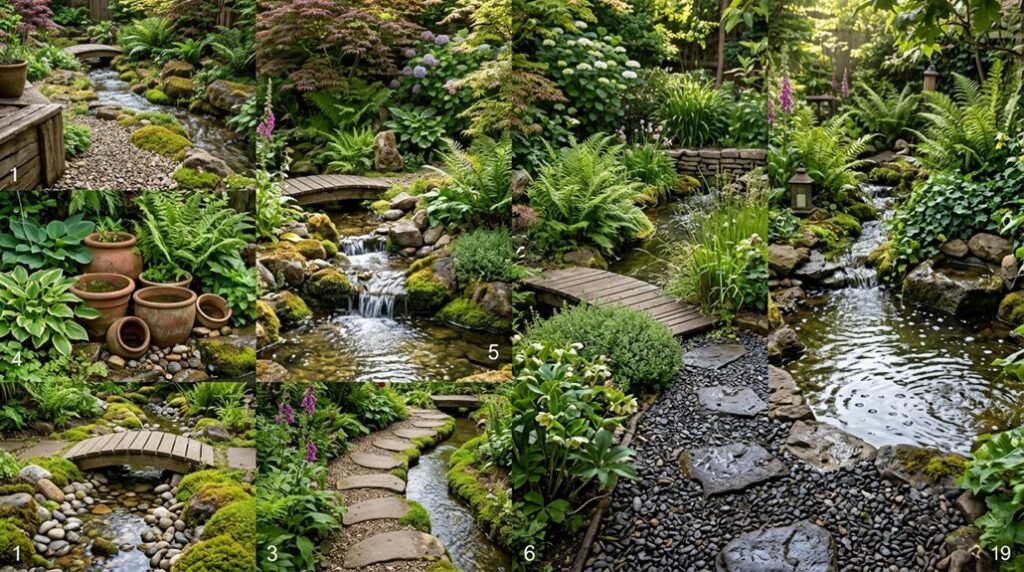
Where exactly could a stream fit when your garden offers barely more than a hallway’s width? I’ve found that even a 3-foot gap accommodates a compact stream, provided you plan thoughtfully. You’ll want a shallow, rock-strewn water path with a hidden reservoir below for recirculation, minimizing surface area while maximizing visual impact.
Using a diffuser or small waterfall spill, you create audible flow within limited width. Keep the visible section around 12 to 18 inches tall for proportion. At the base, tuck a sump or pump vault feeding water upward, then cascading down a curving bed of river rocks. This arrangement squeezes continuous motion into a tiny footprint.
Plan for a durable liner, gravel bed, and flexible 1.5-inch plumbing to reduce friction. Don’t forget GFCI-protected power and winterization steps for cooler seasons.
Pick Between Pondless Streams and Micro-Ponds
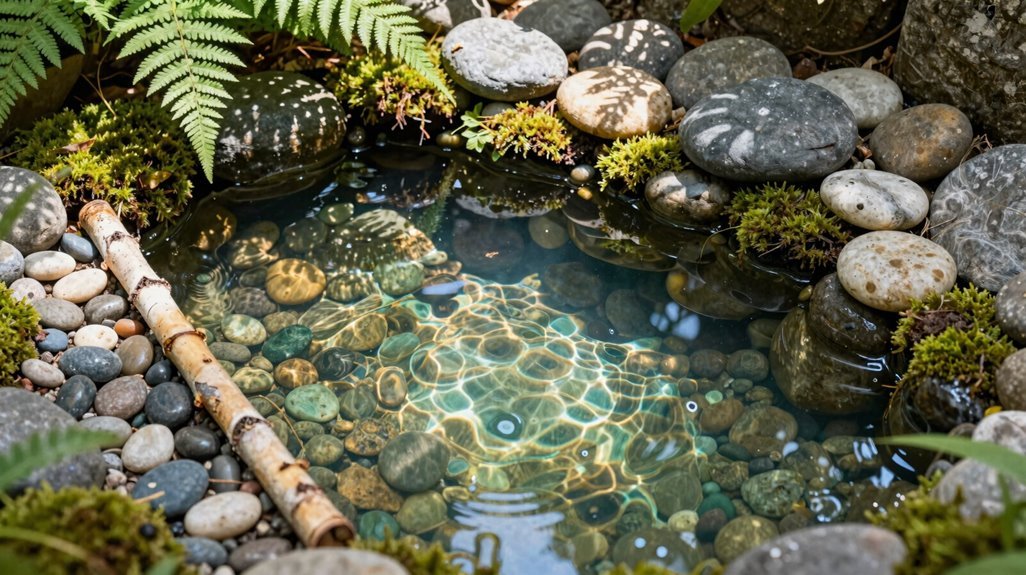
How do you choose between a disappearing stream and a tiny pool when every square foot counts? I lean toward pondless streams when safety and simplicity matter most. These systems tuck water into a buried reservoir beneath gravel and rock, eliminating open water while preserving that soothing cascade you crave. Picture water spilling over mossy stones, vanishing into a pervious bed; no stagnant surface, no drowning risks for curious pets or children.
For intimate patios, I target 1,500–2,000 GPH across a 12-inch weir, creating gentle white noise that invites conversation without shouting. Curving the layout with edge berms maximizes visual impact in tight footprints.
Living where winters bite, I appreciate pondless streams’ safer cold-weather management, though I still winterize pumps diligently.
Plan Depth and Reservoir Size for Your Climate
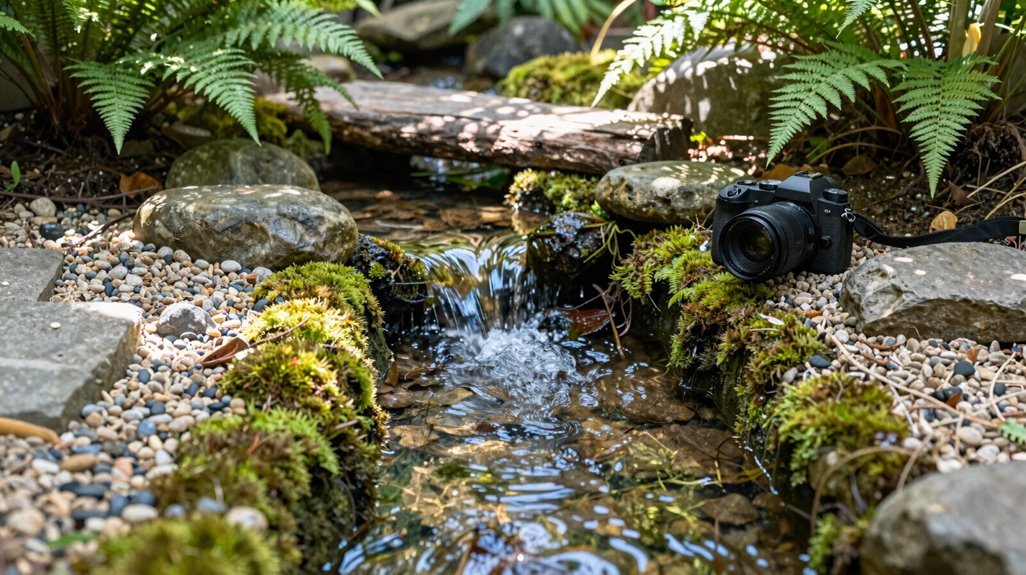
Why let winter wreck what you’ve built? I plan my stream depths carefully, especially in frost-prone regions like the UK where cold weather threatens wildlife. Going deeper than very shallow protects creatures seeking refuge beneath frozen surfaces.
My reservoir size matters enormously here: a pondless system’s hidden basin must hold enough volume to survive winter freezes safely. I aim for 200 gallons or more in larger micro streams, keeping water stable through harsh snaps. Creating gentle gradients and managing splash keeps water moving, preventing stagnation and reducing surface frost risks.
I select freeze-till-safe liners, gravel reservoirs, and pumps with proper head height. When brutal cold arrives, I winterize or drain lines. Together, we’re building streams that endure; functional, resilient features welcoming life year-round.
Layer Underlayment, Liner, and Edging Correctly
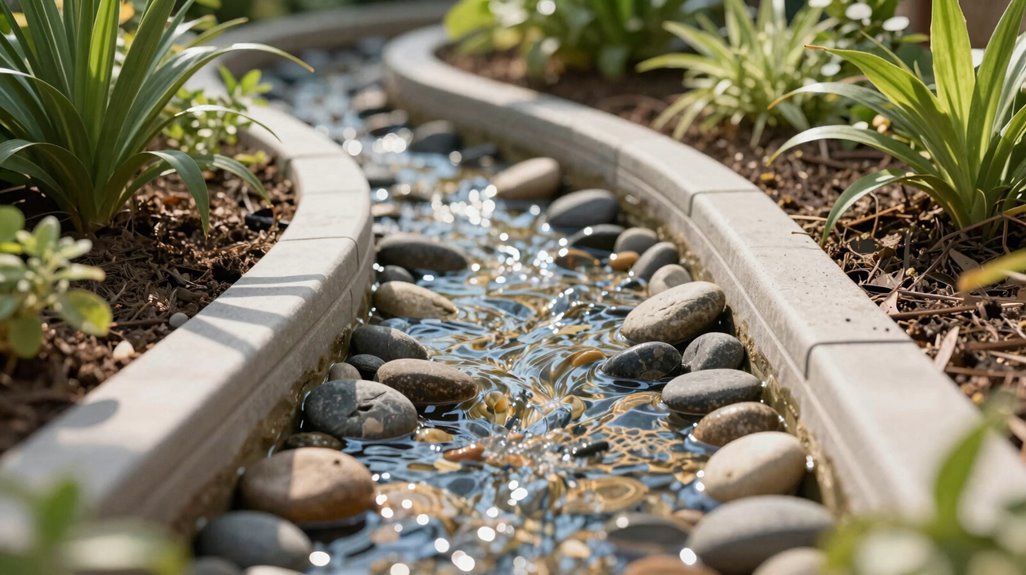
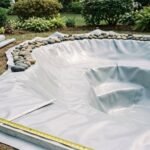
I start every stream build by unrolling a thick, pervious underlayment across the excavated channel, pressing it into the contours like a protective skin that cushions the EPDM liner from the sharp, frost-heaved stones lurking beneath. Once the liner’s positioned with enough excess to fold 4, 6 inches over the berm edges, I shape it around a curved, concave landing stone that guides water toward the hidden reservoir, helping with proper filtration and splash control.
Finally, I secure the folded edges with river rocks and pea gravel, creating a seamless, stone-to-soil transition that keeps mulch from undermining the basin while maintaining that clean, finished look you want in a compact space.
Choose Quality Underlayment
Where exactly does a garden stream begin? It starts beneath the surface, with underlayment I’ve learned to never skip. I lay this pervious, geotextile barrier, often called a protective fleece, directly against the soil, creating a cushioned bed that shields my EPDM liner from the sharp teeth of buried stones and wandering roots.
Without quality underlayment, filtration of debris becomes secondary to the real threat: puncture wounds that leak silently, destroying the hexagon-tiled backdrop I’ve planned. I choose materials thick enough to withstand pressure yet porous enough to prevent water pooling beneath the liner.
Stone pillar fountains, stream edges lined with river rock, each depends on this hidden layer. My stream’s longevity rests here, in the foundation no guest sees but every builder respects.
Position Liner Properly
Once the protective fleece blankets the soil, I’m ready to shape the vessel that holds my water. I settle the rubber liner over the sturdy underlayment, centering it so excess material pools evenly for folding inward. The pervious layer beneath cushions against punctures, while the liner itself becomes the impermeable heart of my stream.
For those of us crafting water gardens in tight spaces, precision matters. I follow three essential steps:
- Drape the liner with 4–6 inches lapping over containment edges, fastening with stones or stakes
- Tuck and smooth material into corners, eliminating tension points that could tear
- Trim excess carefully, sealing joints with waterproof compound for lasting filtration
This layered foundation turns humble materials into something enduring, our shared pursuit of flowing sanctuary.
Secure Edges Neatly
How does a stream keep its shape when the water presses outward? I layer thick underlayment, smooth the liner free of wrinkles, then fold four to six inches over the edge to secure it. For edging, I choose rocks, brick, or preformed edging, whatever fits your hexagon-tiled backdrop or stone pillar fountain aesthetic.
I fasten the liner with staples placed a half-inch from the top, creating a clean, sealable lip. River rocks or gravel mask the seam, shielding against sun wear and pervious soil intrusion. Between liner and terrace walls, I install a tight membrane, blocking sharp edges, and ensuring neat filtration of runoff.
Together, we build something that holds, something that lasts: your stream, cleanly contained, quietly complete.
Build Your Stream With Basic Tools and Materials
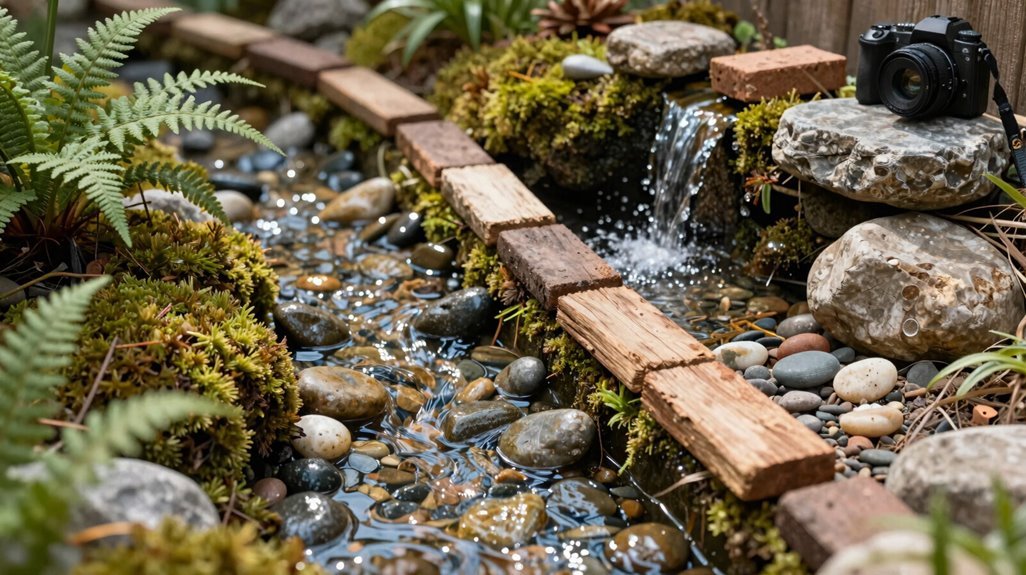
A modest stream begins with honest materials and a clear plan. I imagine you, standing in your small space, ready to shape something living from rubber and stone.
Every stream starts with intention—honest materials, a clear plan, and hands ready to shape water into something alive.
For your build, you’ll need:
- EPDM liner and pervious landscape fabric, layered to cradle the water’s path
- A submersible pump with check valve, tucked into a sump beneath pea gravel and river rock
- A GFCI-protected outlet, because safety belongs in every garden maker’s toolkit
I curve my stream gently, never straight downhill, and set a rock weir at my spillway so water sheets evenly, a hexagon-tiled backdrop catching the shimmer. Edges meet boulders; filtration hides beneath. Auto-fill keeps levels steady.
You’re building this with your own hands, and that matters.
Choose Rocks That Look Natural at Miniature Scale
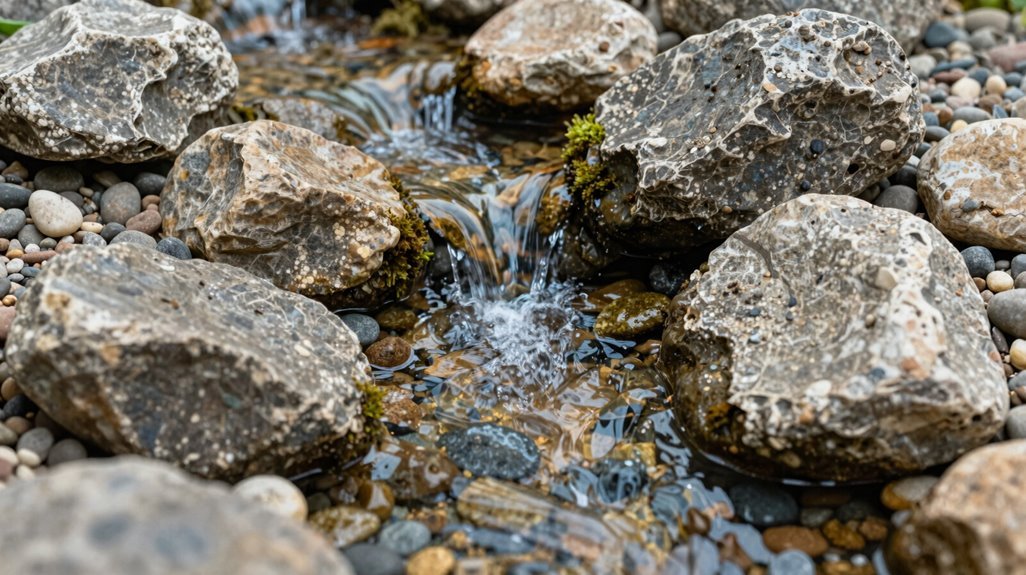
Under afternoon light, I study each stone before it touches my streambed, weighing whether a four-inch river rock reads as boulder or pebble in this compressed world I’m building. I’ve learned that rocks must respect the scale I’m working within, or the illusion shatters.
I choose smaller boulders and river rocks that feel proportionate, avoiding anything that dominates the space like a misplaced mountain. Irregular shapes matter more than perfection; I place them in meandering lines, rejecting straight edges that betray nature’s hand.
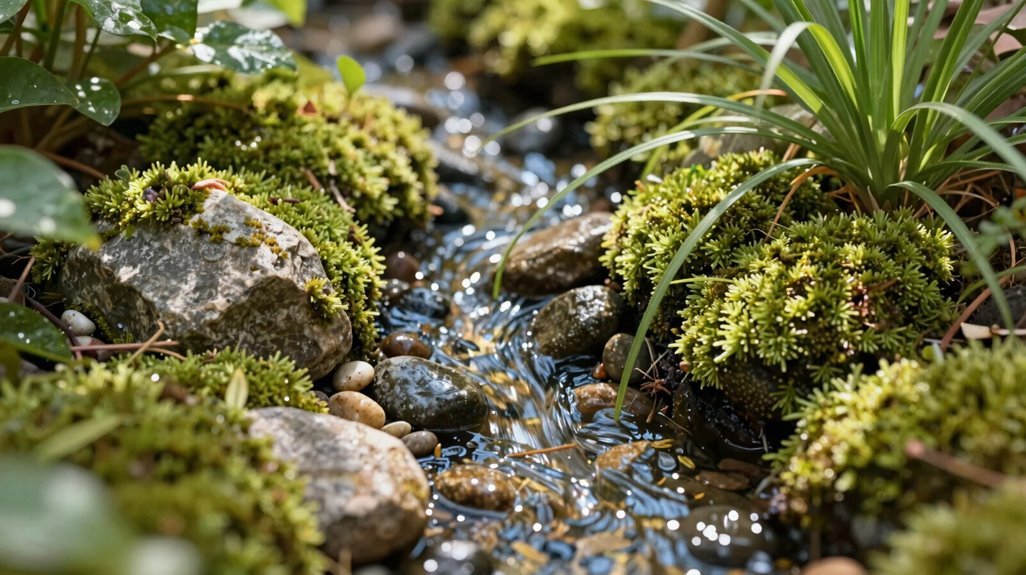
Mixing textures, smooth water-worn surfaces against rough, moss-covered faces, creates the layered complexity of a real shoreline. Grays, browns, and warm earth tones anchor the scene in authenticity.
Stacking low, gradual cascades, I hide liner edges and control runoff through careful placement. Larger focal rocks crown the falls, while gravel and pebbles settle downstream, mimicking natural sediment patterns I’ve observed in wild streams.
Plant Streamside Greenery for Tight Spaces
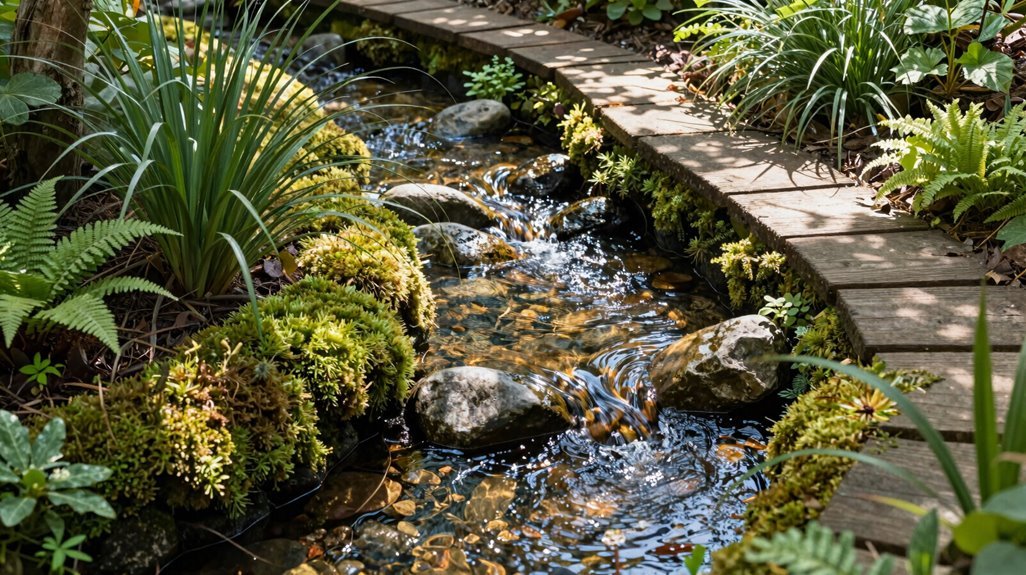
I’ll frame your narrow stream with shade-loving border plants that tolerate damp roots, letting their broad leaves create a soft, pervious edge against the water. Dwarf grass accents, planted in clusters between the stones, will sway with the current while aiding natural filtration.
Finally, I’ll tuck moisture-tolerant groundcovers; think creeping jenny or mazus, into every crevice, so no bare soil disrupts the hexagon-tiled backdrop of your compact water feature.
Shade-Loving Border Plants
Where exactly do you tuck greenery when your stream barely clears the garden wall? I’ve found the answer lies in creeping, low-growing plantings that hug stone without demanding space you don’t have.
Shade-tolerant grasses, like dwarf mondo grass, soften jagged rocks while framing your water feature with quiet texture. These moisture-loving companions create that layered, streamside look we all crave in compact gardens.
For your own shaded border, consider these essentials:
- Creeping thyme between flagstones, releasing scent when brushed
- Shade-tolerant grasses paired with dwarf iris for vertical punctuation
- Evergreen groundcovers stabilizing banks against seasonal erosion
Check plant labels carefully. I’ve learned upper terrace growth must stay controlled, allowing gradual root establishment without overwhelming your narrow watercourse. Your microclimate demands sun-to-shade adaptability, minimizing dieback near shaded stone.
Dwarf Grass Accents
Moving from shaded borders to sunnier edges, I’ve turned to dwarf grasses when I need structure without bulk. These compact cultivars form soft, low-growing borders, staying within a narrow two-foot width that complements rock and gravel aesthetics without overwhelming tight spaces.
I select varieties that tolerate wet-to-dry fluctuations; micro grasses and dwarf ornamental grasses maintain their form even in high-traffic areas. Planting them in staggered groups reduces visible gaps while creating year-round texture, their blades catching light like pervious filtration screens along the water’s edge.
Pairing these grasses with shallow-rooted companions protects liners and rock placements. I add light gravel mulch to maintain consistent moisture, reducing erosion at the micro-stream edge. The result: deliberate movement, natural screening, and a belonging sense of completed design in the smallest garden.
Moisture-Tolerant Groundcovers
Why limit vertical accents when horizontal coverage solves so many problems? I’ve found that moisture-tolerant groundcovers change cramped stream edges into cohesive, living tapestries.
When I plant these pervious carpets, I prioritize three essentials:
- Rapid stabilization: creeping Jenny and Irish moss knit soil quickly, preventing erosion along narrow banks.
- Micro-climate matching: Hakonechloa softens shade; creeping thyme withstands intermittent drought beside stone.
- Filtration function: ivy sedge intercepts runoff, its dense blades purifying water before it exits your garden.
Solomon’s seal and hostas anchor deeper margins, shading roots while maintaining layered coverage. I always select compact cultivars with restrained habits; invasive groundcovers betray the tight spaces we cherish. Choose wisely, and your streamside becomes sanctuary, not struggle.
Set Up Pump, Tubing, and Electrical Safely
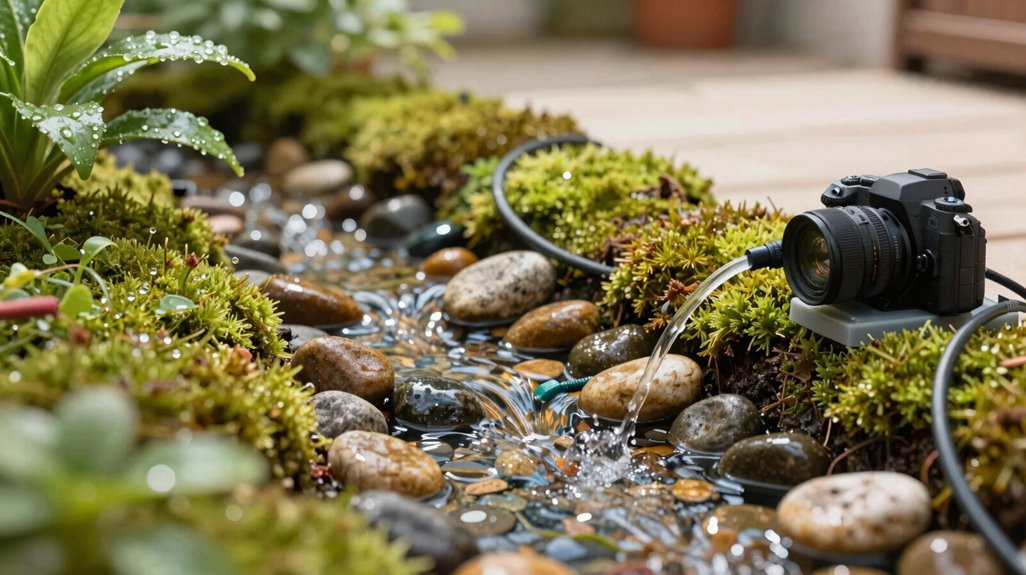
Every small stream I’ve built starts with a single, non-negotiable priority: keeping the water moving without risking anyone’s safety. I place my pump at the bottom of a sump or vault, feeding water upward through 1.5-inch PVC or flexible tubing to a top spillway or diffuser. This allows even distribution across the stream’s hexagon-tiled backdrop.
I install a check valve in the line to prevent backflow when the pump shuts off, preserving precious water in the reservoir. For electrical work, I use only GFCI-protected outlets and dedicated 12-volt transformers for lights, keeping all power separate from household circuits. I route waterproof conduit to elevate every connection, keeping wiring away from moisture and stone pillar fountain splash zones, because belonging in this community means protecting what we’ve built together.
Install a Float Valve for Automatic Top-Ups
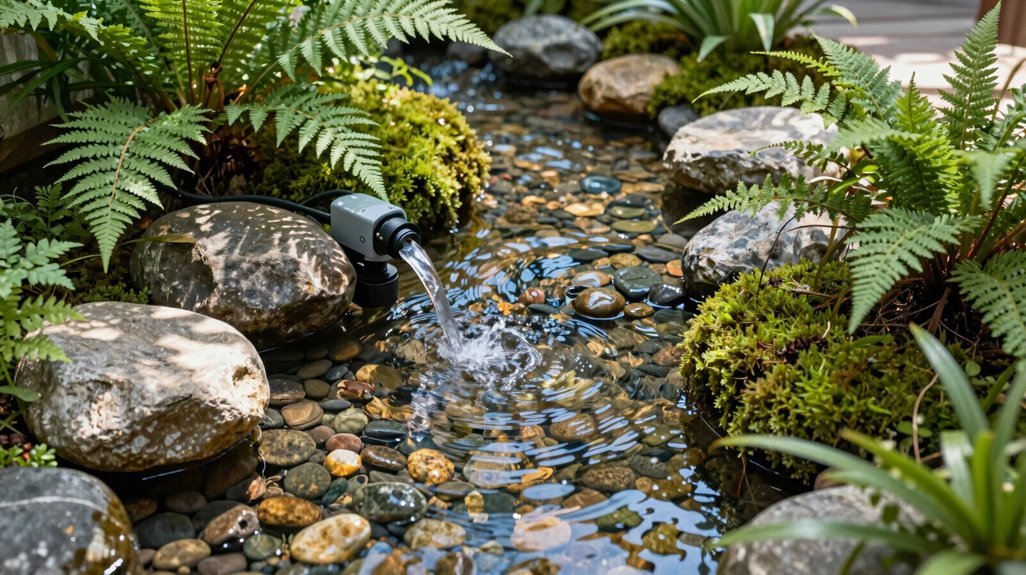
I know you’ll appreciate how a float valve eliminates the tedious chore of hauling hoses to your hexagon-tiled backdrop every afternoon. Selecting the right components, typically a compact, pervious-body valve paired with a pressure regulator and backflow preventer, helps your stone pillar fountain maintain its steady, burbling height without risk of contamination.
Mounting the float at the correct level inside your reservoir, then routing the supply line through discreet filtration, completes an installation that quietly compensates for evaporation while you focus on enjoying the water’s movement rather than maintaining it.
Why It Matters
How often do you notice the water level dropping in your stream, leaving exposed liner and half-submerged river rocks? I’ve faced that disappointment too, watching my careful construction betrayed by evaporation on hot afternoons. Installing a float valve changes everything. You’re freed from daily bucket duties, your stream remaining perpetually full, its pervious edges always submerged as designed.
The benefits compound elegantly:
- Protects your ecosystem, maintaining consistent filtration and oxygen levels that aquatic plants require
- Preserves your stone pillar fountain’s integrity, preventing pump damage from dry-running
- Safeguards your hexagon-tiled backdrop, eliminating water stains from overflow attempts
Your garden becomes the refuge you’ve envisioned; reliable, composed, welcoming. That consistency, I’ve found, changes casual observers into devoted caretakers of their own miniature watersheds.
Choosing Components
Selecting the right float valve means matching your stream’s scale to hardware that won’t overwhelm a compact reservoir or leave you scrambling with adapters. I look for compact, adjustable models designed specifically for small water features, making sure they fit discreetly beside the pump without crowding the basin.
Positioning matters: I place the float valve inside the sump, connecting it to a dedicated supply line with a pressure regulator to prevent overfilling. I always install a backflow preventer and check valve on that supply, protecting my home’s water from siphoning backward when circulation pauses.
Setting the float height requires precision. I maintain a safe offset above the pump intake, keeping the reservoir full enough for continuous flow without risk of overflow. In colder regions, I route lines below frost depth, wrapping them in insulation to prevent freeze damage that could crack fittings and flood the garden.
Installation Steps
Where exactly does a float valve fit into a compact stream system? I install mine in the reservoir, connecting it to a small irrigation line that maintains consistent water levels without my constant attention.
Here’s how I approach the setup:
- Protect the supply: I place a backflow preventer and pressure regulator upstream, shielding the float valve from contamination and pressure spikes.
- Position strategically: I nestle the float valve in a sheltered corner of the sump, away from leaf debris yet accessible for maintenance.
- Add isolation control: I include a dedicated shut-off valve, making winterization and pump service straightforward.
This configuration prevents pump air intake and flow interruptions, keeping my hexagon-tiled backdrop stream running smoothly. The auto-fill lets me focus on enjoying the stone pillar fountain’s gentle murmur rather than hauling hoses.
Add Lighting and Winterize Your Stream

Why let your stream vanish after sunset? I install low-voltage lighting, GFCI-protected with a dedicated transformer, to illuminate every curve and cascade while keeping risks minimal. Submersible lights, tucked beneath the fall’s lip or scattered along the gravel bed, cast a restrained glow that reveals the hexagon-tiled backdrop without overwhelming our intimate space. I aim for 1,500–2,000 GPH flow targets, letting the vertical drop catch the light, and automate schedules with smart controls to conserve power year-round.
| Element | Placement | Purpose |
|---|---|---|
| Low-voltage transformer | GFCI outlet, concealed | Safe power distribution |
| Submersible puck lights | Under lip of the fall | Highlight cascade movement |
| Gravel bed strips | Along streambed curves | Ground the composition |
| Uplight accents | Against stone pillar features | Dimensional rockwork |
| Smart timer | Weatherproof housing | Automated dusk activation |
Winterizing matters equally. I select cold-rated pumps, drain lines where frost penetrates, and cap the system before hard freezes arrive, protecting our shared sanctuary.