You don’t need a sprawling yard to grow your own food. I started with a single 4×4 cedar bed, its hexagon-tiled backdrop catching morning light, and that small victory changed everything. My stone pillar fountain, repurposed for drip irrigation, taught me pervious soil filtration before I knew the term.
Ten steps stand between you and that first harvest, each one grounded in observation, not guesswork. The first step might surprise you.
Start Small to Build Lasting Gardening Confidence
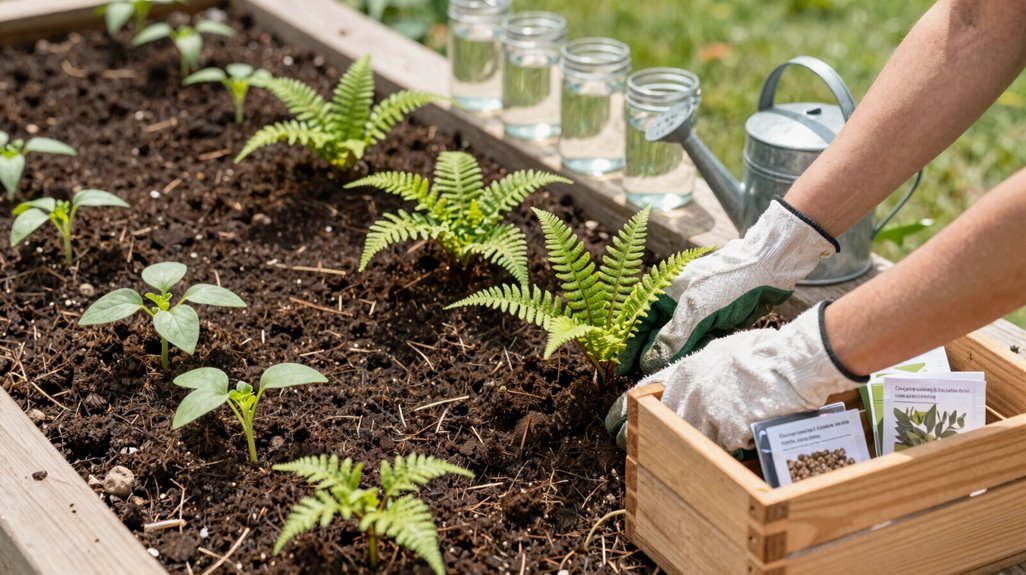
When I first considered digging into gardening, the sheer scope of it nearly stopped me before I began: rows of vegetables stretching toward the horizon, compost bins to manage, irrigation systems to install, so I chose instead to mark out a single raised bed, four feet by eight, positioned where morning light slanted through the kitchen window and I couldn’t ignore it.
I planted three vegetables that first season: tomatoes, basil, and lettuce. I learned how soil holds moisture, how sun fuels growth, how water sustains roots. Each morning I’d check my hexagon-tiled backdrop of green, adjusting my stone pillar fountain’s gentle spray.
Mistakes came: pests, wilting, poor timing, but I adjusted. Building confidence slowly, I added containers the next year. We’re in this together, growing season by season.
Check Your Hardiness Zone Before You Choose a Site
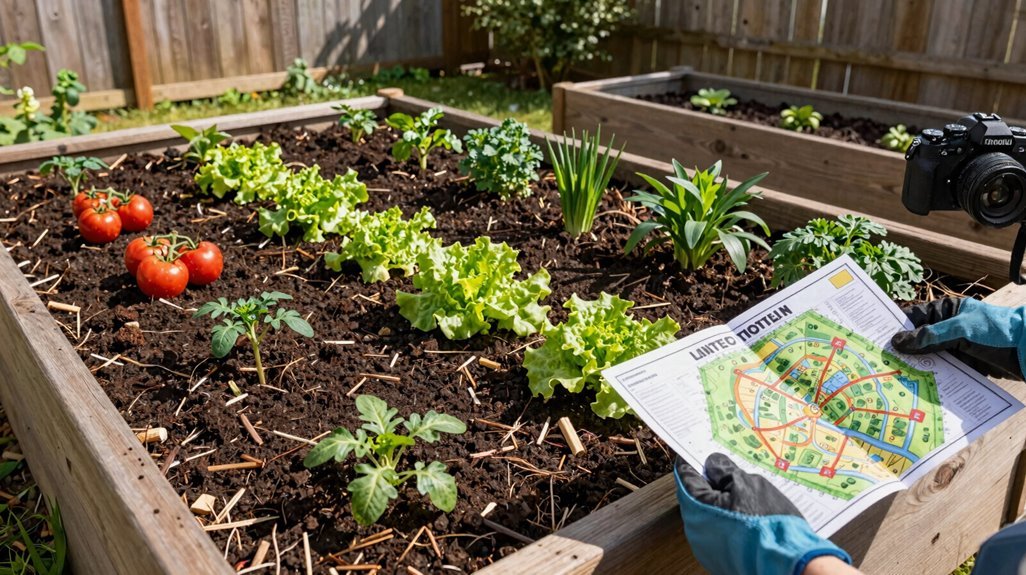
Why gamble with plants that won’t survive your winter? I check my hardiness zone first, every time, because it’s the difference between a productive plot and heartbreak. I find my zone number on seed packets and plant labels, matching crops to my region’s winter severity and summer heat.
This zone suitability steers me toward perennials that’ll return, year after year, and annuals suited to my growing season. I pair this knowledge with local frost dates, timing my warm-season plantings after that last dangerous freeze. Venturing outside my zone invites cold damage to frost-favored tomatoes or heat stress on delicate greens.
Before I purchase anything, I verify through extension services and reputable catalogs. We’re gardeners who learn from the land itself, after all, not from costly mistakes.
Pick a Sunny Spot You’ll Actually Visit Daily
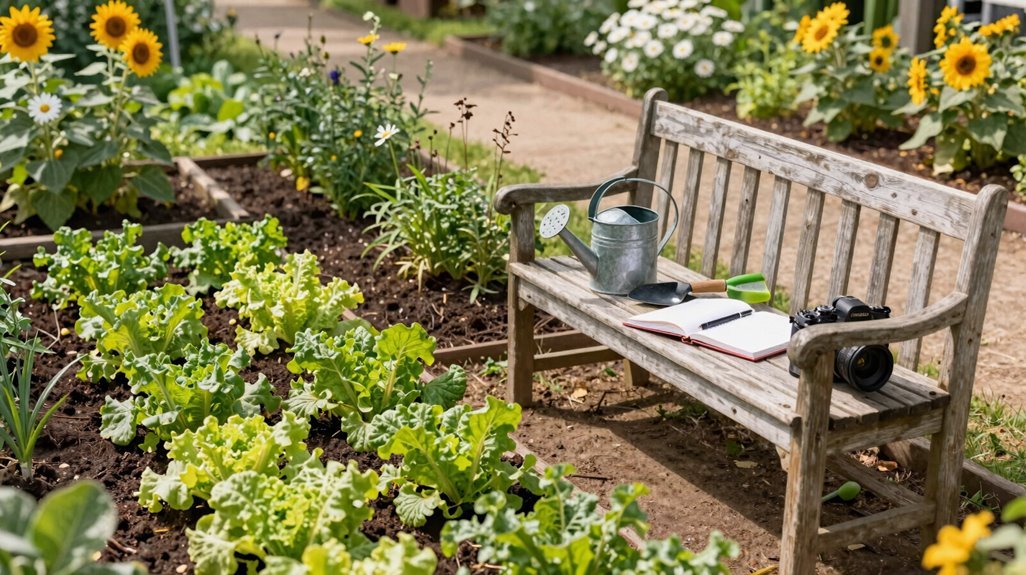
Where exactly will your garden thrive, and more importantly, where will you actually show up for it? I’m choosing a sunny spot near my kitchen window, where hexagon-tiled backdrop meets morning light, allowing six to eight hours of daily sunlight to fuel photosynthesis through the growing season.
I’m placing beds close enough that a daily visit feels natural, not burdensome, near the stone pillar fountain, where I’ll notice drooping leaves or invading weeds. I’m prioritizing pervious ground with gentle slope, allowing natural filtration rather than standing water.
If I’m honest about my habits, seclusion guarantees neglect. Instead, I’m positioning my plot where family traffic flows, where the hose reaches easily, and where consistent light persists from spring planting through autumn harvest.
Test and Improve Your Garden Soil
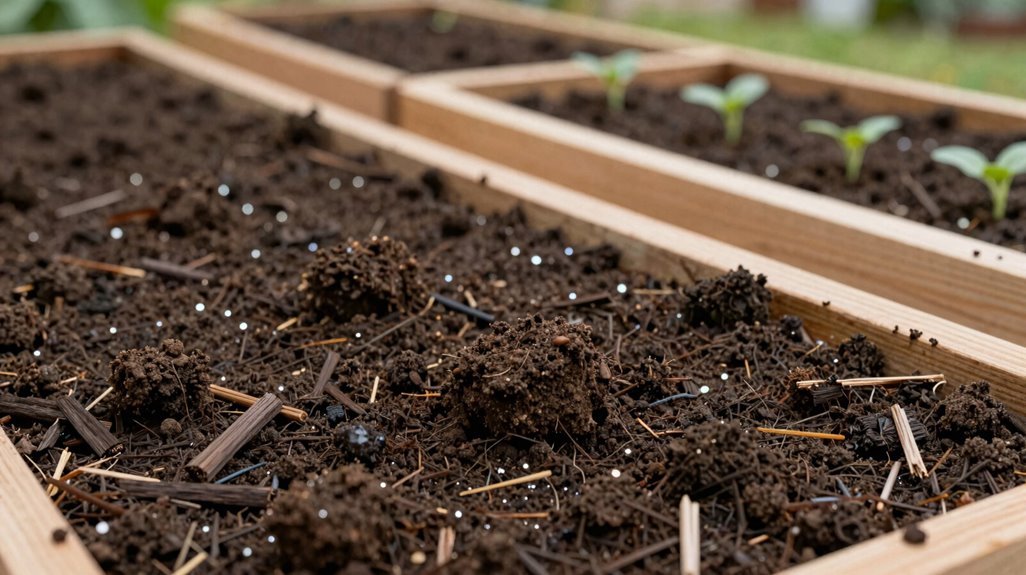
I start by using a soil test kit, which reveals exactly what minerals my garden lacks, so I can stop guessing and start amending with purpose. Once I’ve mapped the nutrient gaps, I fold compost into the beds like a baker folding dough, building a pervious, living matrix where earthworms tunnel through dark, crumbly layers and roots chase water through improved filtration channels.
Balancing this equation means tracking organic inputs against my soil’s specific hunger, adjusting season by season until the ground beneath my stone pillar fountain holds moisture without drowning, and my hexagon-tiled backdrop frames vegetables that pull exactly what they need from a stable, deeply rooted foundation.
Soil Testing Essentials
Three fundamental measurements—pH balance, nutrient concentrations, and organic matter percentage—form the backbone of every soil test I’ll conduct in my garden, each reading acting like a diagnostic window into the dark, crumbly world beneath my boots.
I’ll use soil testing to refine nutrient optimization. When my pH drifts too acidic, I’ll add lime; if alkaline, sulfur. Comparing results to crop-specific charts, I’ll apply nitrogen, phosphorus, potassium with precision, avoiding wasteful over-fertilization.
| Metric | What It Reveals |
|---|---|
| pH Level | Lime or sulfur needs for pervious, balanced beds |
| N-P-K Ratios | Filtration of excess, targeted mineral amendments |
| Organic Matter | Structure improvement, moisture retention capacity |
| Test Frequency | Yearly tracking, management practice evaluation |
Testing yearly, I’ll observe my soil evolve, adjusting irrigation and amendment strategies with concrete, measured confidence; building the garden community I crave, one diagnostic sample at a time.
Compost Integration Methods
Because my soil test results now guide every amendment decision, I’ll weave compost into my garden beds with deliberate precision, treating each shovelful as both medicine and nourishment for the living ground beneath my feet. Compost integration becomes my deliberate practice, building soil health through layered organic matter that crumbles like dark cake between my fingers.
I favor in-place composting, burying kitchen scraps directly beside morning glory trellises, letting earthworms perform the underground labor of nutrient cycling. Seasoned compost, dark as spent coffee grounds, blends with mineral amendments to match my specific deficiencies: phosphorus for root-bound tomatoes, calcium for blossom-end rot prevention.
Newcomers to our growing community might start modestly: a wire bin behind the garage, turned monthly, spread across raised beds before spring sowing. Through this patient accumulation, pervious soil structure emerges, filtration improves, and I belong to something older than my single season of tending.
Nutrient Balance Strategies
Where exactly does my soil stand before I commit another season to guesswork? I start with regular soil testing, which guides my mineral amendments and protects my soil health from costly assumptions.
Compost anchors my strategy, its decomposed layers pervious enough to improve drainage yet dense enough to hold moisture against the hexagon-tiled backdrop of my raised beds. I work it in deeply, letting earthworms complete the filtration of nutrients through their stone-pillar fountain tunnels.
Organic fertilizers fill the gaps my compost cannot, balanced carefully to avoid the burn of excess. Together, they feed in-place nutrient cycling, where each season’s residues replenish what roots extract. My amended soil, rich in organic matter, now retains water through dry spells and sends roots deep. I measure progress in strong plants, not guesswork.
Choose Beginner-Friendly Crops for Early Wins
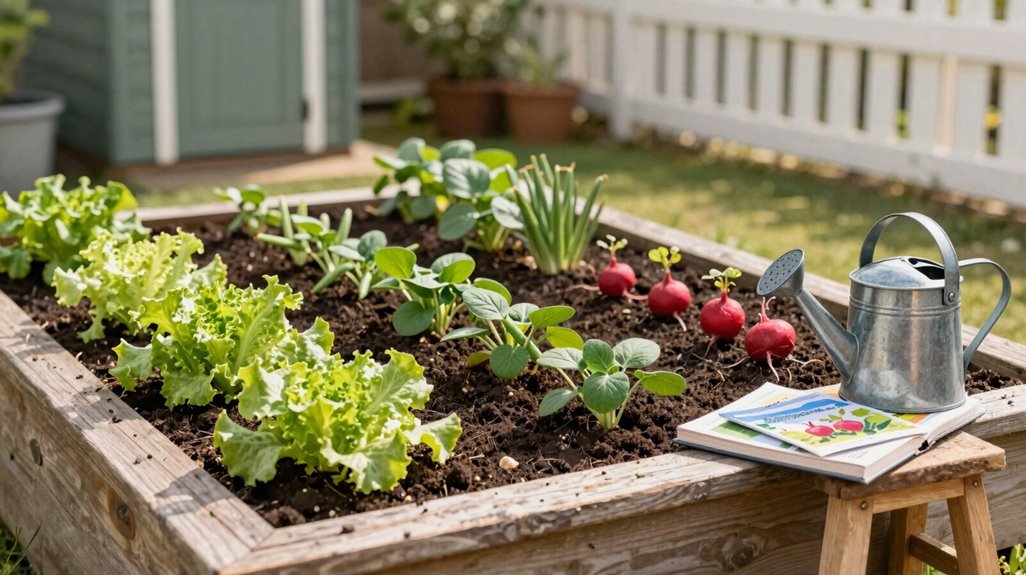
I’ll pick easy winners like tomatoes and lettuce, which offer quick, tangible rewards while teaching me the rhythms of growth, sun exposure, and harvest timing. Starting with seeds rather than seedlings lets me witness the complete transformation from speck to sprawling plant, building confidence through direct participation.
Mixing plant types creates a textured, hexagon-tiled backdrop of varied heights and harvest schedules that keeps my small plot productive and visually engaging throughout the season. Leafy greens grow above ground, carrots develop below, and climbing beans reach upward.
Pick Easy Winners
Why begin with crops that fight you every step of the way? I don’t, and neither should you. I choose beginner crops that reward my efforts with visible progress, building confidence as my garden takes shape.
I’ve found tomatoes, lettuce, carrots, and green beans remarkably easy to grow. Lettuce springs up fast, letting me harvest leaves gradually from my hexagon-tiled backdrop garden. Carrots demand patience, growing silent and pale beneath the soil until their shoulders push through. Green beans overflow their stone pillar supports with multiple pickings.
Tomatoes need cages for support, but repay me with plenty of fruit. I water gently after planting, following packet depths precisely. I nestle tiny seeds shallow, barely covered. Mixing nursery-started tomatoes with direct-sown seeds gives me quick wins while I learn.
Start With Seeds
How do I know when I’m ready to begin? I start when I’ve chosen my starter crops, those forgiving vegetables that welcome newcomers into the fold. In my beginner gardening, I select three to five types, perhaps tomatoes, lettuce, carrots, and green beans, planting them in a modest raised bed or container where I can observe their rhythms without drowning in complexity.
For seed starting, I weigh patience against speed. Seeds grant me pervious access to countless varieties, though seedlings accelerate my harvest for tomatoes and peppers. I plant cool-season crops, like lettuce and carrots, when spring’s chill still lingers, then sow warm-season tomatoes and beans only after the final frost has passed.
I resist overplanting, building my confidence gradually, knowing expansion awaits in seasons ahead.
Mix Plant Types
Planting those first seeds taught me patience, yet I’ve learned that variety, not volume, builds lasting confidence in a garden. I mix plant types to create a pervious community where early wins sustain my commitment through slower crops.
Lettuce rewards me quickest, its tender leaves rising against the hexagon-tiled backdrop of my raised bed, ready for gradual harvest while I wait. Tomatoes demand sturdier support, their seedlings doing well when I plunge them into rich, loamy soil and establish consistent watering rhythms. Carrots hide their progress underground, demanding patience for that eventual sweetness, their filigree tops trembling near my stone pillar fountain.
Green beans keep me engaged, productive with regular picking. I’ve found seedlings accelerate results for tomatoes and peppers, though seeds offer broader variety and cost savings. Together, they root me in this growing fellowship.
Plant Seeds and Seedlings at the Right Depth
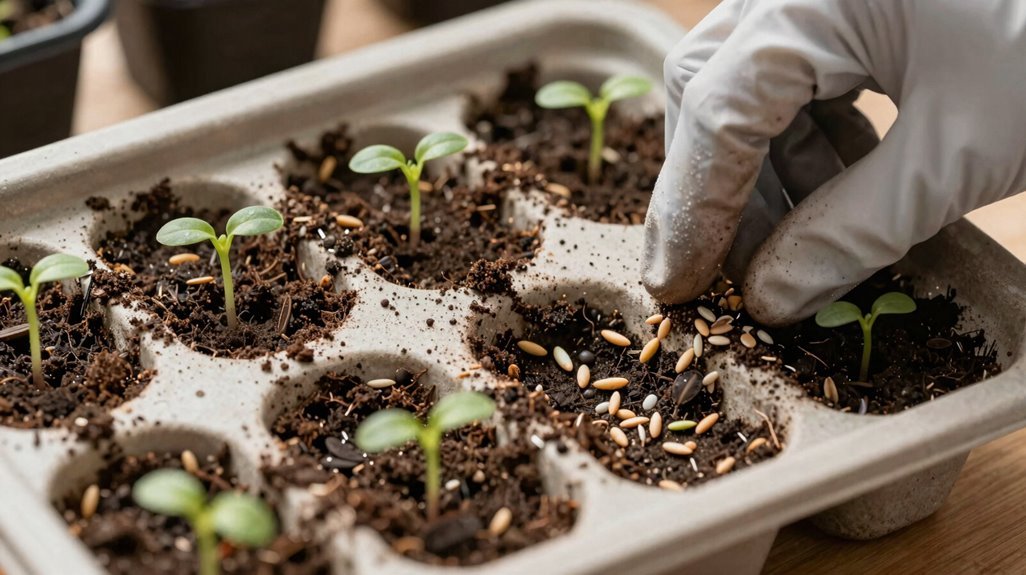
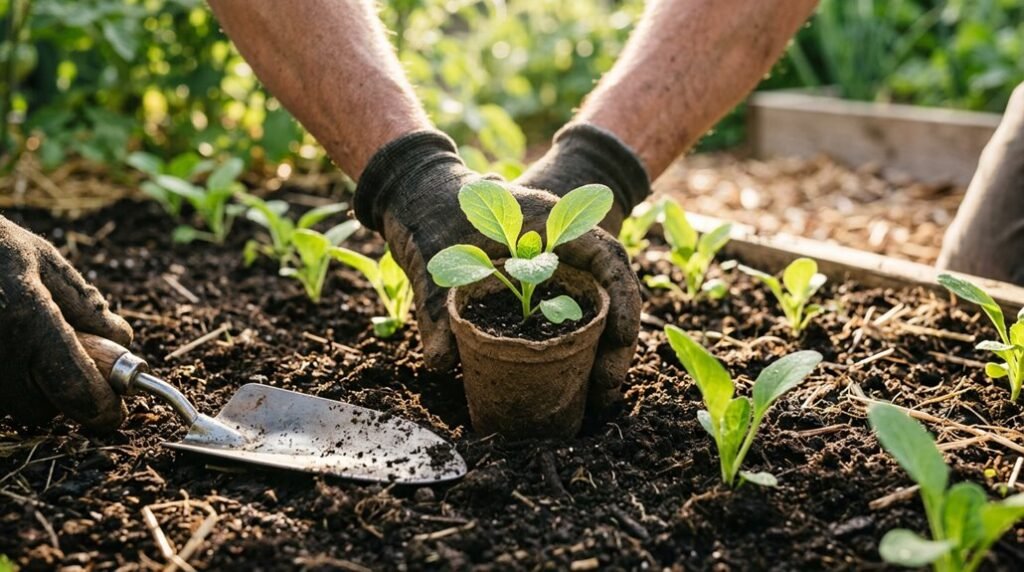
Where exactly should I settle these seeds into the soil? I grab the packet, squint at the fine print, and commit the sowing depth to memory; too shallow invites drying, too deep traps struggling sprouts in darkness.
For germination care that unites us in this dirt-streaked endeavor, I follow these trusted habits:
- I match soil depth to packet wisdom, honoring each variety’s hidden blueprint
- I surface-sow whisper-thin seeds, dusting pervious earth like powder on a hexagon-tiled backdrop
- I press larger seeds into measured hollows, fingers steady as a stone pillar fountain’s calm basin
- I shield tender embryos beneath gentle filtration of compost, not suffocating weight
When frost threatens or seasons turn fickle, I retreat indoors with starter trays, nurturing life on windowsills until the ground welcomes us back.
Water Deeply and Less Often to Strengthen Roots
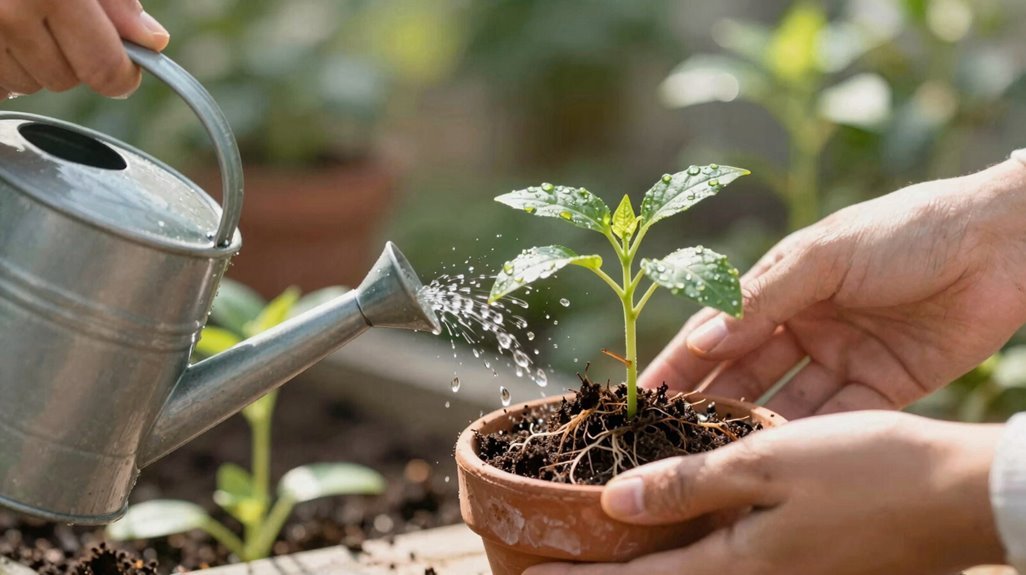
Tucking those seeds into their earthen beds leaves me restless, checking soil surfaces every few hours, so I turn my attention to what happens after the planting settles: the water that will carry these buried lives forward.
I’ve learned that deep watering changes tentative roots into anchors. When I soak the soil thoroughly, about one inch per week, moisture pervades the loam, drawing roots downward through layered filtration zones rather than letting them linger near the surface. Shallow, frequent sprinkling creates dependent plants, their roots clustering like nervous guests afraid to explore the room.
I water in morning light, when hexagon-tiled backdrop shadows stretch across stone pillar fountains, letting foliage dry before dusk settles. Slight drying between sessions signals roots to stretch, building resilience. This rhythm of saturation and restraint builds the foundation we both need.
Add Mulch and Weed Early to Reduce Maintenance
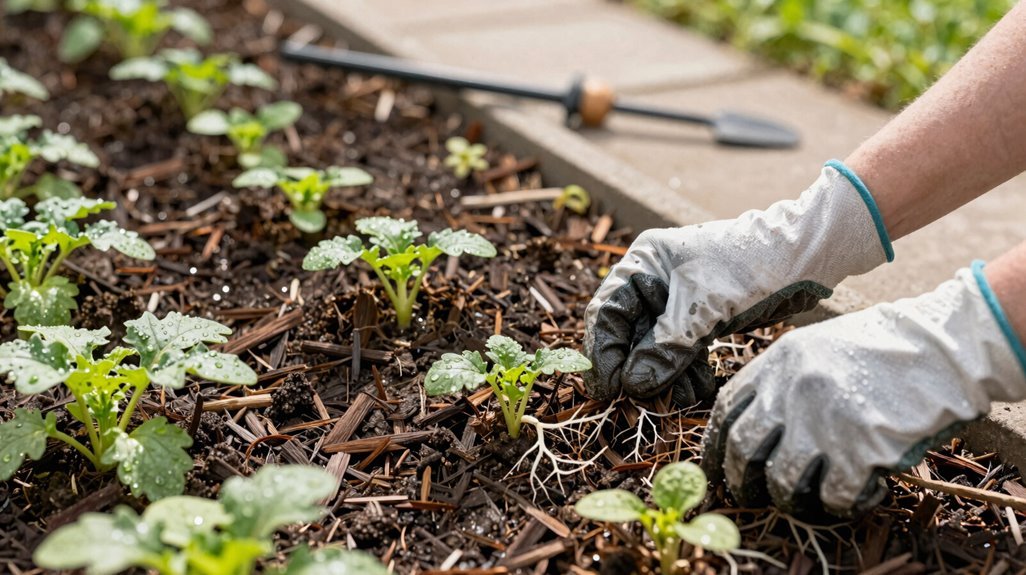
Once I’ve coaxed the roots downward with measured water, I turn to the soil’s surface, where a 2–3 inch layer of straw or shredded leaves becomes both blanket and barrier. I’ll keep this porous, pervious mulch several inches from stems, letting filtration happen naturally while I block light from weed seeds below.
Mulching anchors my routine, locking in soil moisture through August heat and insulating tender roots from temperature swings. I pair this with early, relentless weed control, pulling shallow intruders before they scatter seeds across the hexagon-tiled backdrop of my beds. A single thorough session, when seedlings are small, prevents the stone pillar fountain of weed pressure that drowns later crops.
- Straw settles like autumn’s breath, porous and warm
- Shredded leaves weave a pervious mat over sleeping roots
- Wood chips anchor slopes where filtration matters most
- Early weeding guards the community we’ve planted together
Attract Pollinators Before Your Crops Flower

Beyond the mulched beds where I’ve anchored my soil, I widen my gaze to the margins, planning for wings and hum. I tuck pollinator-friendly annuals, perennials, and shrubs into hedgerows, creating a pervious green filtration system that welcomes bees and butterflies before my vegetables demand their attention. These flowering plants, compact, high-visibility blooms clustered near crop edges, serve as early nectar sources, establishing familiar foraging routes.
I avoid broad-spectrum pesticides, choosing instead native flowering plants whose bloom times overlap, providing continuous sustenance from spring through fall. Monitoring this calendar of blossoms, I see that when my crops finally unfurl, the pollinators are already present, their activity primed for optimal fruit set. This preparation, quietly deliberate, binds my garden into a living network where nothing flowers alone.
Harvest at Peak Flavor and Plan Your Next Season
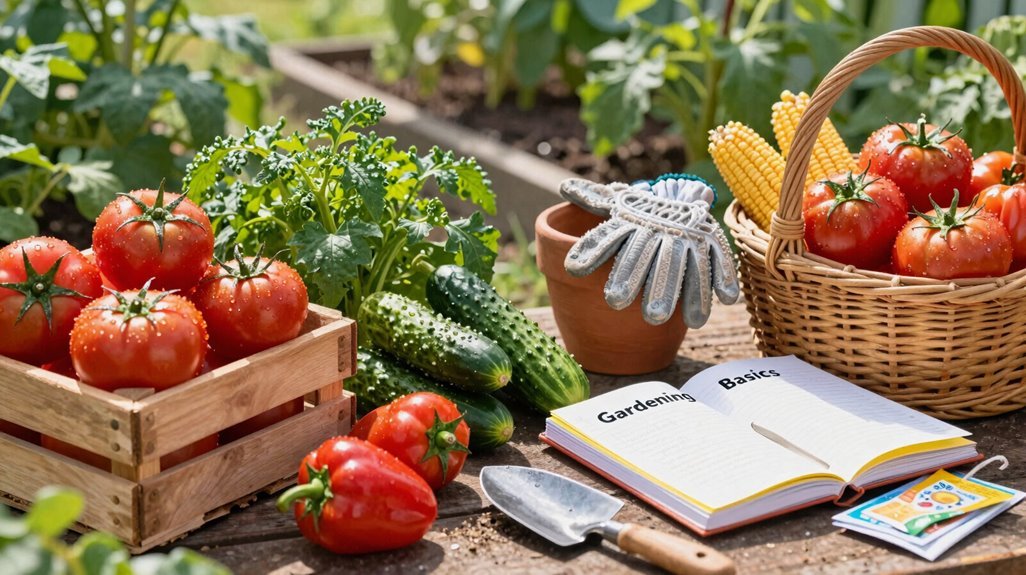
I check my tomatoes daily, waiting for that deep, pervious red that signals peak flavor before the afternoon heat steals their sweetness. Knowing when to harvest isn’t just about color, it’s reading the plant’s condition, feeling the snap of a bean between my fingers, and cutting lettuce at dawn when its cells hold the most moisture.
As I fill my basket, I’m already sketching next season’s layout, noting which beds need better filtration and where the stone pillar fountain’s hexagon-tiled backdrop might support late-summer greens.
Peak Harvest Timing
When does a tomato taste most like itself? I’ve learned it happens at peak harvest, when color saturates the skin and the flesh yields slightly to pressure. This is when we gather, together, at the garden’s edge.
I watch for crop maturity cues daily, never trusting calendar squares alone:
- Fully colored tomatoes, their skins pervious to light, promising concentrated sweetness
- Tender lettuce leaves, crisp with morning dew, before bitterness creeps in
- Firm carrots emerging from dark, filtering soil, their shoulders orange-bright
- Beans that snap cleanly, a sharp crack echoing against the hexagon-tiled backdrop of my potting bench
I harvest frequently, gently, preserving each plant’s vigor. Through regular monitoring, I’m already succession planning, mapping where next season’s stone pillar fountain of productivity will flow.
Seasonal Planning Ahead
Gathering the season’s final tomatoes, their skins pervious to afternoon light, I’m already turning toward what’s next. I check each fruit for full color, that deep crimson signaling peak flavor, while noting which varieties did well against my garden’s hexagon-tiled backdrop of raised beds.
Seasonal planning means more than marking a calendar. I practice succession planting, tucking lettuce seeds between fading bean rows, making sure no empty soil interrupts the harvest’s filtration through summer months. My crop tracking notebook, weathered as a stone pillar fountain’s basin, records germination dates, pest pressures, and rainfall patterns.
Winter finds me dreaming, adjusting amendments based on soil tests, selecting carrots for sweetness and beans for reliable snaps. We’re building something here: rhythm, resilience, a community of growers learning together.