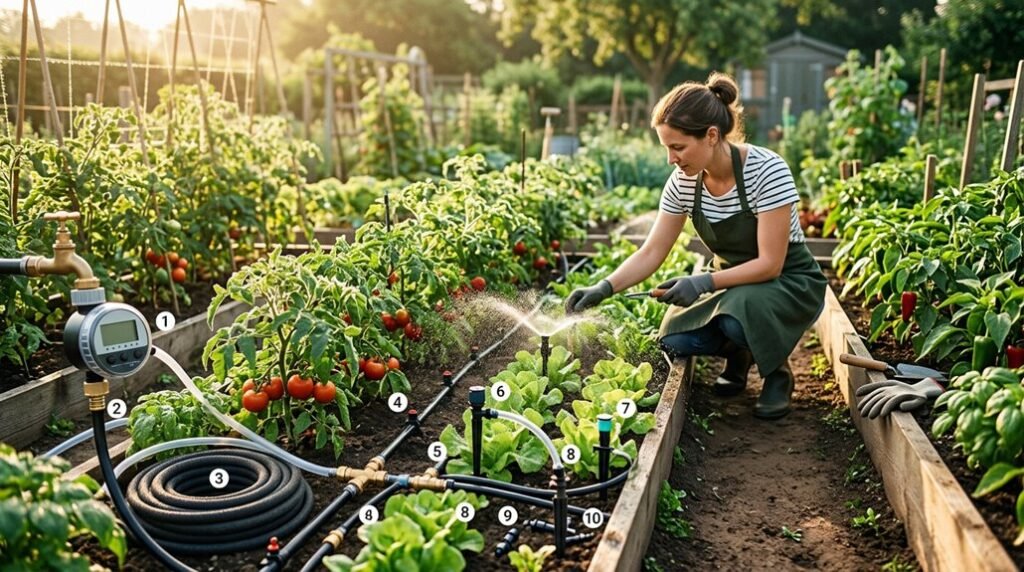
I’ve stood in my garden at dawn, watching water arc from a brass impact sprinkler across raised beds of determinate tomatoes, and I’ve knelt beside drip lines threading through pepper rows like dark veins in loam. Each system—overhead, drip, soaker—carries its own calculus of pervious soil, filtration, and the hexagon-tiled backdrop of a greenhouse where humidity gathers.
The choice between them isn’t simple; it demands weighing evaporation against disease pressure, upfront costs against seasons of harvests. What follows maps ten approaches I’ve tested, ranked not by novelty but by what actually sustains vegetables through dry spells and downpours alike.
Which Irrigation System Fits Your Vegetable Garden: Overhead, Drip, or Soaker?
How do you decide which watering method will actually serve your vegetables rather than work against them? I’ve wrestled with this question standing in my garden at dawn, hose in hand, watching water arc through morning light.
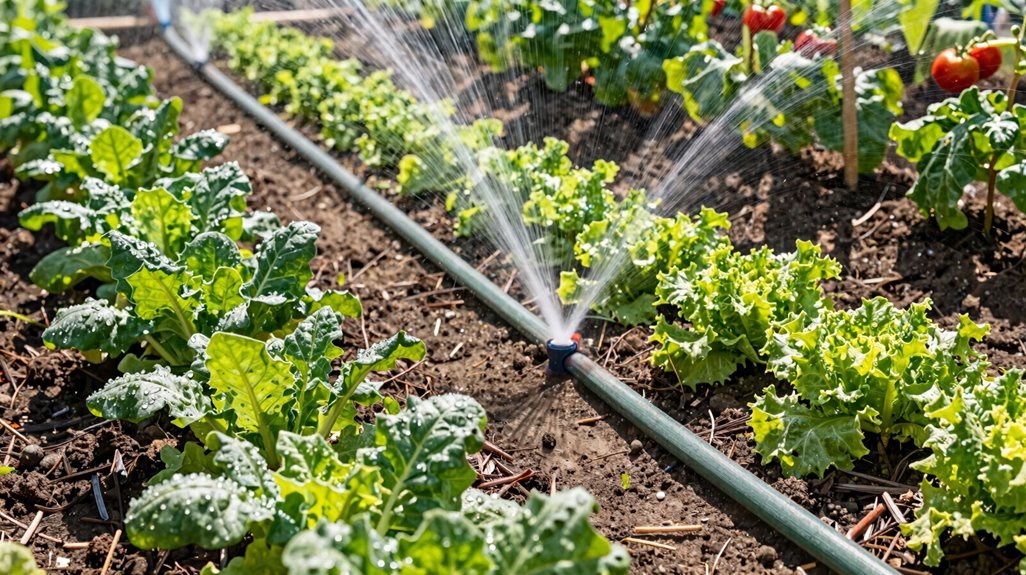
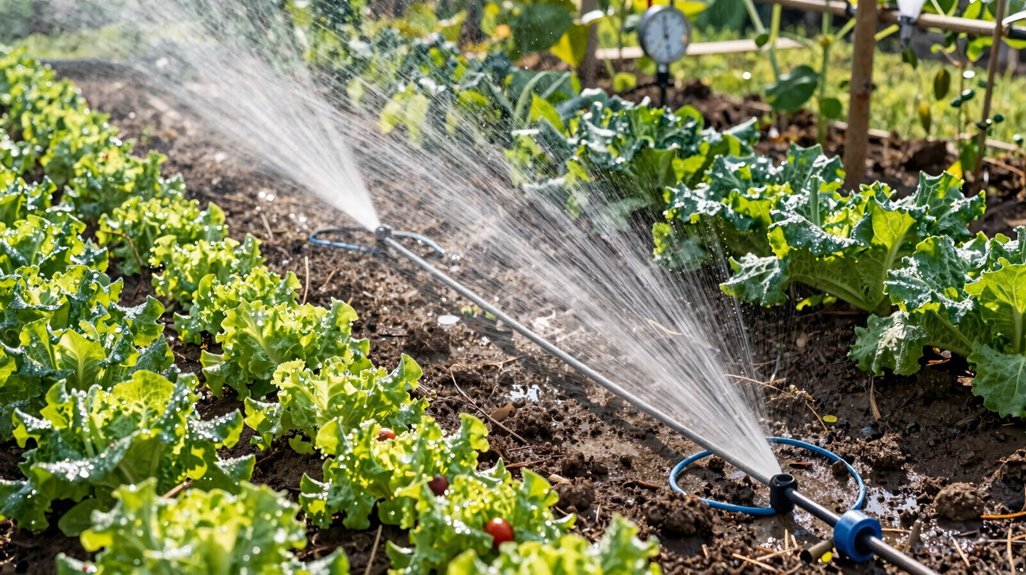
Overhead irrigation mimics rainfall, sprinkling from above with quick setup and germination benefits. Yet I’ve seen its downside: wet leaves glistening with potential disease, precious water drifting away on humid afternoons.
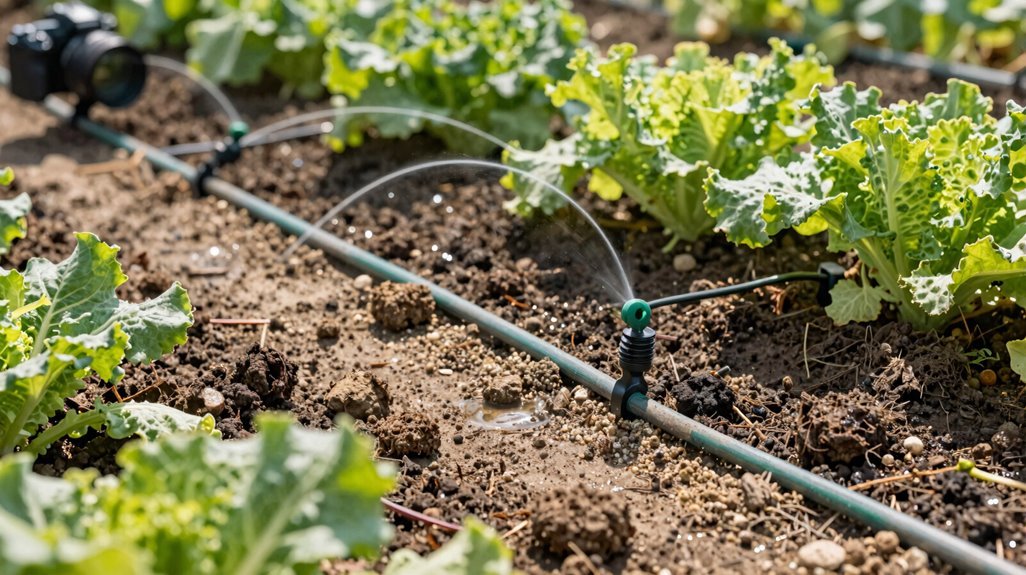
Drip irrigation transformed my raised beds, threading emitter lines like veins through the soil, delivering moisture directly to roots with surgical precision. The upfront cost stung, but my water bill thanked me.
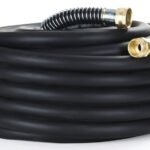
Soaker hoses snake between my tomato rows, porous rubber weeping slowly at ground level. They’re imperfect; kinking on slopes, degrading after seasons, but I cherish their simplicity.
Consider your crops, climate, and budget. Many gardeners, myself included, eventually blend systems: drip irrigation for greenhouse treasures, overhead irrigation for leafy greens, soaker hoses for sprawling squash.
Start With Your Soil: Sandy, Clay, and Loam Need Different Systems
Before I thread a single emitter line or uncoil a soaker hose, I kneel down and grab a handful of dirt, because your soil’s structure dictates everything about how water moves through your garden. Sandy soils, pervious and quick-draining, demand lightweight, frequent watering or organic amendments to build filtration capacity before drip irrigation becomes viable. Clay soils, dense and water-retentive, call for targeted delivery; drip lines or buried soaker hoses that penetrate without compaction, preventing surface runoff.
Loam, that balanced middle ground, accommodates nearly any system with reliable water efficiency across beds of hexagon-tiled backdrop precision. Understanding your soil type isn’t just technical diligence; it’s the difference between vigorous tomatoes and wasted mornings. I match my irrigation to what the earth reveals, because every garden deserves membership in the community of flourishing plots.
Factor in Your Climate: Humidity, Rainfall, and Evaporation Rates
I’ve learned that my local humidity, rainfall patterns, and evaporation rates completely reshape which watering system makes sense for my vegetable garden, like choosing between a stone pillar fountain’s steady arc or a pervious drip line threading through hexagon-tiled backdrop beds. In Arkansas’s sticky, 47-inch annual downpour, I’m watching moisture cling to leaves longer than I’d like, turning my overhead sprayers into invitation cards for foliar disease rather than the filtration-friendly irrigation I’d planned.
That’s why I’m now weighing how my morning calm, with its cooler temperatures and gentler evaporation, might finally make drip lines or soaker hoses the smarter choice for my climate’s particular thirst.
Humidity Impact on Irrigation
Where humidity clings like a weighted blanket over your garden, every irrigation choice carries consequence. I’ve watched drip irrigation struggle to find its footing in Arkansas summers, where moisture hangs heavy and soil dries slowly between cycles. Overhead watering becomes a gamble here; each droplet clings to leaves like dew on a spider’s web, inviting blight and mildew into our shared growing spaces.
| Humidity Level | Drip Irrigation Advantage | Overhead Watering Risk |
|---|---|---|
| High (>70%) | Reduced; slower soil drying complicates scheduling | Elevated foliar disease, wind drift waste |
| Moderate (40-70%) | Ideal efficiency, consistent root-zone moisture | Manageable with timing adjustments |
| Low (<40%) | Maximum water conservation | High evaporation losses, acceptable disease risk |
We adapt together, reading our hexagon-tiled backdrop of soil and sky, knowing our stone pillar fountain of knowledge flows through observation.
Rainfall Patterns Matter
Why do we plan elaborate watering schedules when skies might open without warning? I wrestle with this every growing season, because rainfall patterns demand we stay adaptable, not rigid. In my humid zone, I’ve learned that drip irrigation becomes my ally when summer storms dump inches overnight, saturating leaves I’d rather keep dry. Soil moisture management means reading the sky and the soil, adjusting timers after each downpour.
Program sensors to pause when rain arrives, preventing root rot in pervious beds. Choose drip lines over sprinklers where humidity lingers, keeping foliage filtration working. Track seasonal shifts, shortening sessions when clouds gather, extending them during drought.
We’re not fighting the weather; we’re dancing with it, tools in hand, watching hexagon-tiled puddles form between stone pillar fountains.
Evaporation Rate Considerations
How much water never reaches your plants, lost instead to the air before roots can drink? I think about this every time I watch mist drift away from overhead sprinklers on hot, windy afternoons. Where I garden, that evaporative loss feels like pouring resources down a pervious drain.
I’ve switched to drip irrigation, which delivers moisture straight to root zones, bypassing the thirsty air entirely. In arid climates, I time these systems for dawn, when evaporation still sleeps.
Spreading mulch, shredded bark, straw, or compost, creates a protective lid, locking soil moisture beneath its porous layer like a filtration blanket. When humidity climbs and rain arrives uninvited, drip systems adapt where overhead methods drown leaves and invite disease. Together, these strategies keep water where roots can find it.
Choose Overhead Sprinklers for Germination and Dense Plantings
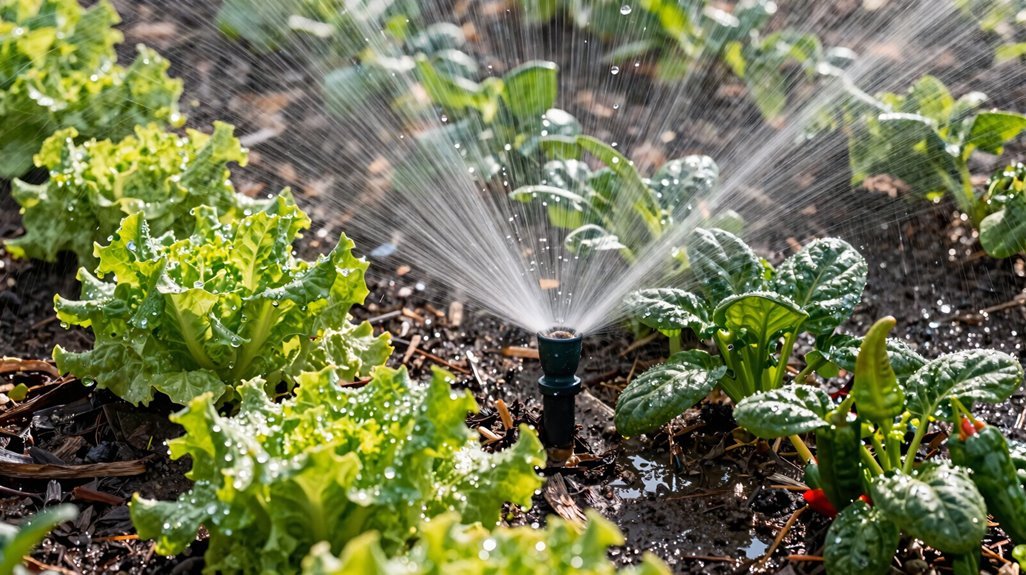
When I’m starting seeds or working with a dense block of greens, I’ll often reach for overhead sprinklers first. Unlike drip irrigation, overhead sprinklers blanket the entire bed uniformly, coaxing seeds through that critical germination window where consistent surface moisture matters most. I’ve watched desert growers switch from drip to overhead specifically for this purpose; the quick soil drying between cycles actually aids germination in pervious, sandy ground.
Imagine a hexagon-tiled backdrop catching dawn light as mist arcs across your lettuce bed, every seed receiving its share without complex filtration setups or snaked hoses. Picture tearing down lines in minutes when weeds demand attention, no drip tubing trapping soil against your palms. Visualize stone pillar fountains of spray, though I’ll caution against this method where Arkansas-level humidity breeds foliar disease and wind drifts precious water into paths.
Choose Drip Irrigation for Precise Root-Watering of Tomatoes and Peppers
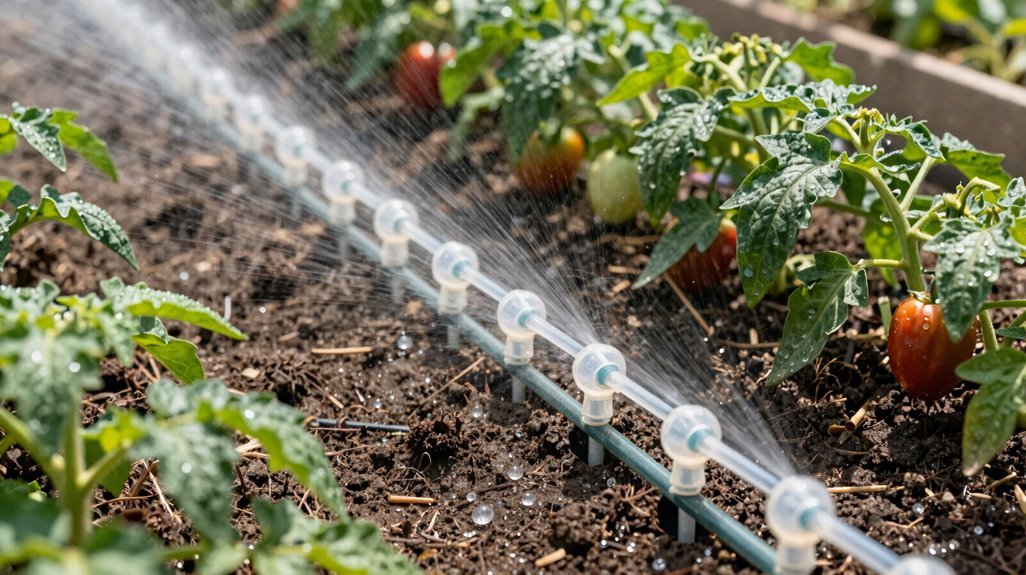
When I install drip irrigation for my tomatoes and peppers, I pay close attention to water pressure management, ensuring the low-pressure flow reaches each emitter without the surges that split tubing or create dry pockets. I’ve learned that emitter spacing options, whether six, twelve, or eighteen inches apart, let me match the drip line to my bed width, so a single row of beefsteak tomatoes gets tight, pervious intervals while my sprawling pepper grid breathes with wider gaps.
Choosing the right combination, with proper filtration guarding against clogs, means I can walk my stone-edged beds at dawn and see water beading precisely at each root crown, not a drop wasted on the paths between.
Water Pressure Management
Managing water pressure properly means I can deliver moisture straight to where tomatoes and peppers need it most, their root zones, without waste or damage. Drip irrigation, with its pervious network of flexible tubing, demands careful attention to force. I install a pressure regulator at the spigot, dropping that surging 50–60 PSI to a gentle 25–30 PSI, protecting delicate emitters from rupture.
Without this filtration-minded safeguard, my lines suffer uneven distribution, and components wear like weathered stone pillar fountains crumbling under relentless spray. Testing pressure after installation, I adjust flow until moisture seeps evenly along each emitter line, creating that hexagon-tiled backdrop of consistent hydration my crops crave.
- Install a pressure regulator to shield emitters from damaging home water pressure
- Add filtration to prevent debris from clogging your drip irrigation system
- Test and adjust flow after setup to ensure even moisture distribution
Emitter Spacing Options
Once I’ve tamed the pressure surging through my lines, I turn my attention to the geometry of water placement, mapping emitter spacing against the thirsty architecture of tomato and pepper roots. I space my drip emitters twelve to eighteen inches apart, aligning each perforation with the fibrous root zones that spread like shallow nets beneath the soil’s pervious surface.
Proper emitter spacing ensures water seeps evenly, avoiding the dry pockets that stunt fruit set or the saturated hollows that invite rot. I run dual lines for wider rows, maintaining filtration to prevent clogging in these precision instruments. Root zone watering through calibrated drip emitters keeps foliage dry, reducing blight pressure while delivering moisture exactly where capillary roots drink.
This measured approach rewards me with consistent harvests, tomatoes swelling red against the hexagon-tiled backdrop of my garden paths.
Choose Soaker Hoses for Budget-Friendly Ground-Level Watering
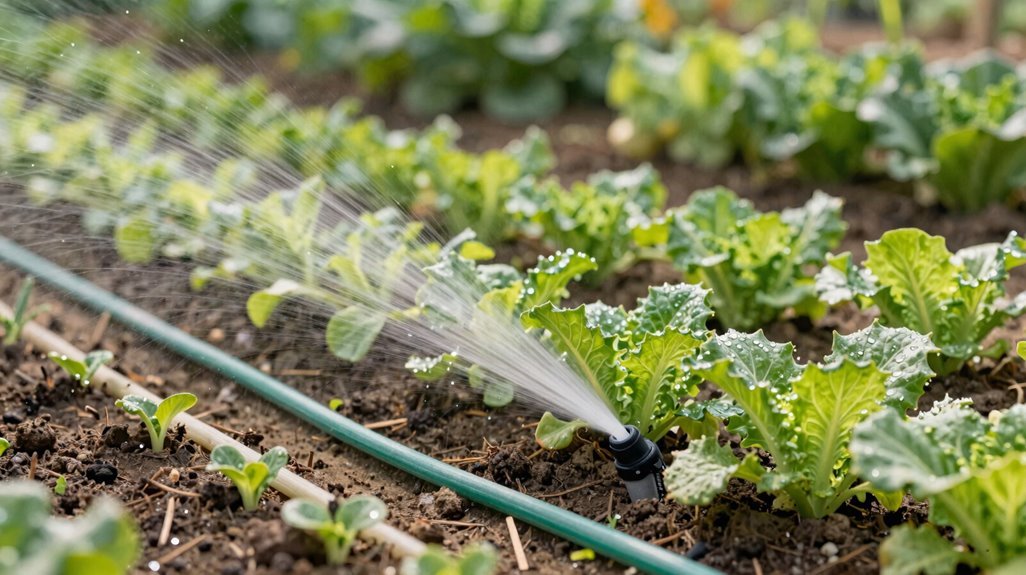
Why spend a fortune on irrigation when a simple, pervious tube can do the heavy lifting? I choose soaker hoses when I want drip irrigation benefits without the complexity. These porous lines weave through my level beds, delivering slow, steady moisture straight to root zones while I tackle other tasks. Unlike overhead sprinklers, they keep foliage dry, cutting down on fungal troubles and choking weeds between rows.
Nestle hoses beneath straw or wood chips for essential mulch protection against UV degradation. Level your ground carefully, since uneven terrain creates dry pockets and wasted water. Drain, coil, and store hoses in sheds before frost cracks their walls.
I bury mine under three inches of shredded bark, extending their lifespan while locking in soil moisture. For flat gardens seeking affordable efficiency, soaker hoses invite you into the circle of savvy growers.
When to Combine Overhead and Drip Irrigation in One Garden
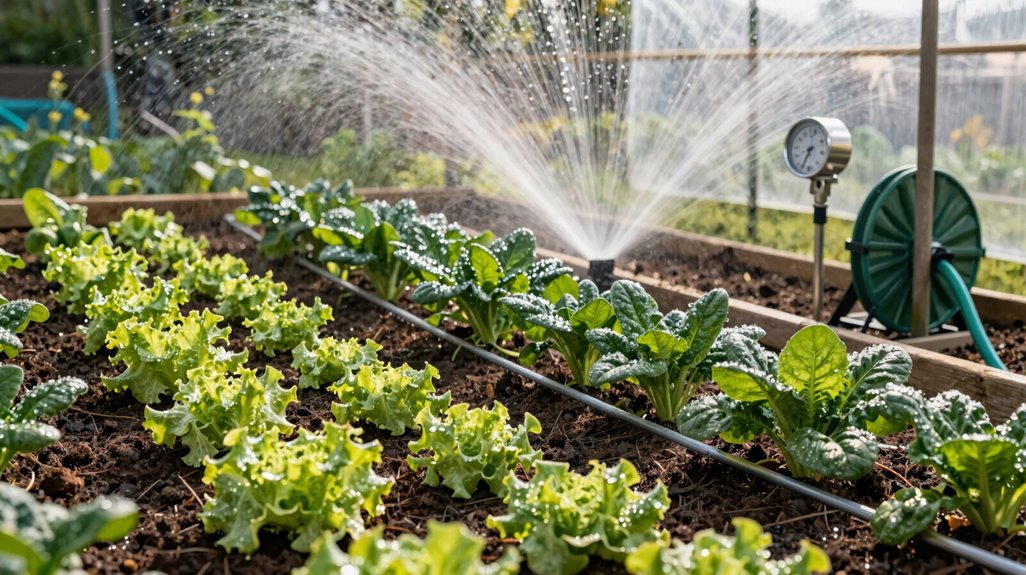
Sometimes the smartest approach isn’t choosing sides, but knowing when each system earns its place in my garden. I’ve learned that combined systems let me harness what each method does best.
I run overhead irrigation when I’m pushing seeds toward germination, its wide spray coaxing crusted soil into pervious beds where tiny roots need quick, even moisture. Once my tomatoes and peppers establish, I switch to drip irrigation, threading lines through raised beds where water seeps directly to root zones without splashing foliage. My greenhouse tomatoes stay healthier this way, filtration keeping emitters clear while leaves stay dry.
For the paths between beds, I’ll still use overhead; it’s simpler, faster. Balancing both means I’m not compromising; I’m gardening smarter, with each tool doing what it was built for.
Automate Your Vegetable Garden: Timers, Pressure Regulators, and Upgrades

How much time am I really spending standing at the hose, waiting for water to seep through crusted soil? I’ve reclaimed those hours by automating my drip irrigation system, transforming daily chores into reliable, hands-off precision.
Installing pressure regulators protects my emitters, dropping household pressure from 50–60 PSI to the gentle 25–30 PSI that drip lines crave. I pair these with timers, programming dawn watering when roots drink deepest and evaporation sleeps. Filtration catches debris before it clogs my lines, preserving the honeycomb-patterned emitters that thread through my raised beds like arterial veins.
- Pressure regulators safeguard your drip irrigation from rupture and uneven flow
- Timers deliver consistent moisture, even when you’re tending other beds
- Inline filters prevent the mineral buildup that chokes precision emitters
Together, these upgrades weave your garden into a responsive, self-sustaining system.
Winterize Your Irrigation: Drain, Store, and Protect Before Frost
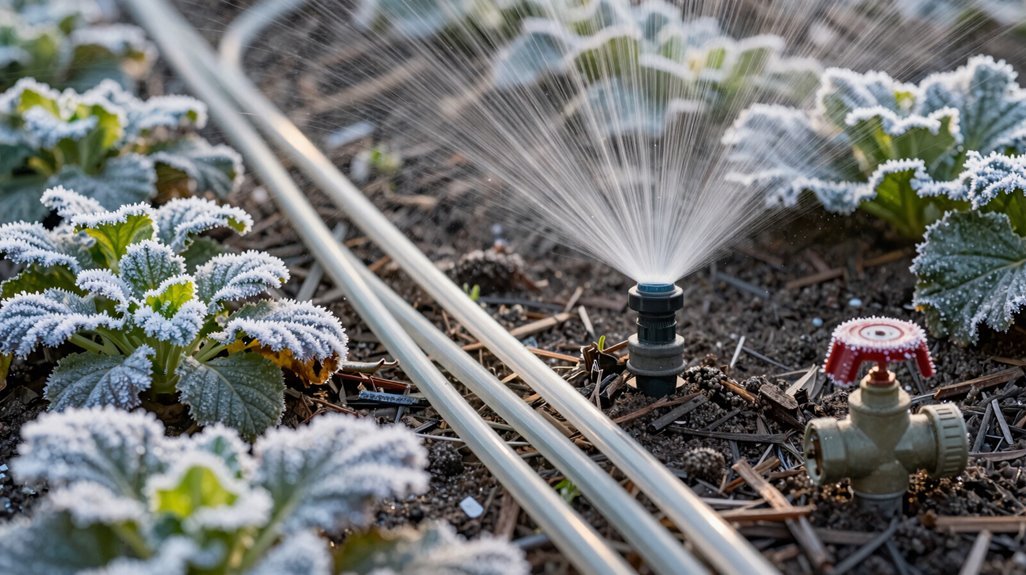
I make sure every drop leaves my irrigation lines before the first hard frost, because frozen water expands with enough force to split PVC fittings and crack polyethylene tubing. Removing timers, emitters, and quick-connect fittings, I carry them to my dry garden shed where they’ll wait out winter without corroding or warping.
Come spring, I’ll find them exactly as I left them, clean, intact, and ready to thread back onto the manifold.
Drain All Lines Completely
Before the first hard frost settles over my garden beds, I’ll shut off the main water supply and begin the methodical work of draining every line in my irrigation system. Winterization demands thoroughness, so I open every end cap and purge valve, watching residual water spill onto the pervious soil beneath my raised beds. For my drip irrigation network, I use gentle manual draining or a careful blow-out procedure, making certain each emitter and soaker hose releases its trapped moisture. Frozen water expands, cracking polyethylene tubing and brass fittings alike.
Open all purge valves and end caps to release standing water from every low point. Drain lines completely using gravity or low-pressure air, protecting delicate filtration components. Confirm buried tubing shows no pooling, securing true winterization before temperatures plummet.
Store Components Indoors
Where exactly does a coiled soaker hose belong once frost threatens? I’ve learned it belongs beside you, in the dry sanctuary of a basement corner or garden shed, not left to the merciless cycle of freeze and thaw.
Winterizing demands more than draining; it requires deliberate indoor storage. I carry my drip irrigation components, emitters, filters, and flexible tubing, through the doorway like entrusted companions. The pervious membranes of soaker hoses, once pressed against dark soil, now rest coiled beneath a hexagon-tiled backdrop of my potting bench. Filtration units, removed from stone pillar fountain connections, await spring in labeled bins.
This ritual of protection binds me to fellow gardeners who understand: preserving these tools means preserving our shared promise of abundant seasons to come.
Compare Real Costs: Setup Time, Water Waste, and Long-Term Maintenance
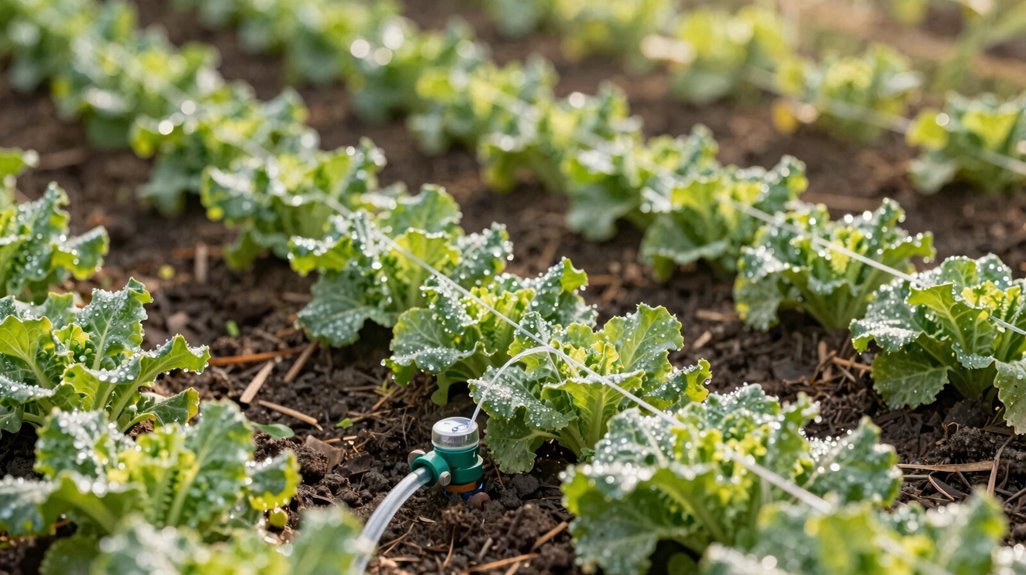
How do we actually weigh what a watering system costs us beyond the price tag at checkout? I look at setup time, water waste, and maintenance demands to find what truly fits our gardens.
Drip irrigation slashes water waste through pervious emitters that target root zones, though I spend hours planning filtration and pressure regulation. Soaker hoses snake beneath mulch like dark veins, degrading faster under UV assault. Overhead sprinklers arc above hexagon-tiled backdrops, drenching stone pillar fountains and paths alike.
Measure setup hours against seasons of use. Track gallons lost to evaporation and runoff. Inspect UV-resistant tubing and clog-resistant emitters annually.
I balance these factors, knowing our choices shape both harvests and community watersheds.